Using State Machine
State Machine is a representation of automation workflow that works based on a finite number of states as part of its execution. The triggering of workflow moving from one state to another is through activities. It can go into a state by triggering a particular activity, and similarly, it can exit that state through the execution of some other activity.
Also, you can provide conditions, as part of Transitions, which, when met, can make your workflow state move from one state to another.
State Machine mainly contains two activities State and Final State.
State is a description of the status of a system waiting to execute a transition. It contains Entry, Exit and set of transitions. In the Entry and Exit sections, the user can add activities that trigger the state, while the Transition(s) section shows all the transitions connected to the selected state.
Final State contains one section named as entry

Transitions can be viewed by double-clicking. It contains three section Trigger, Condition and Action.
![]()
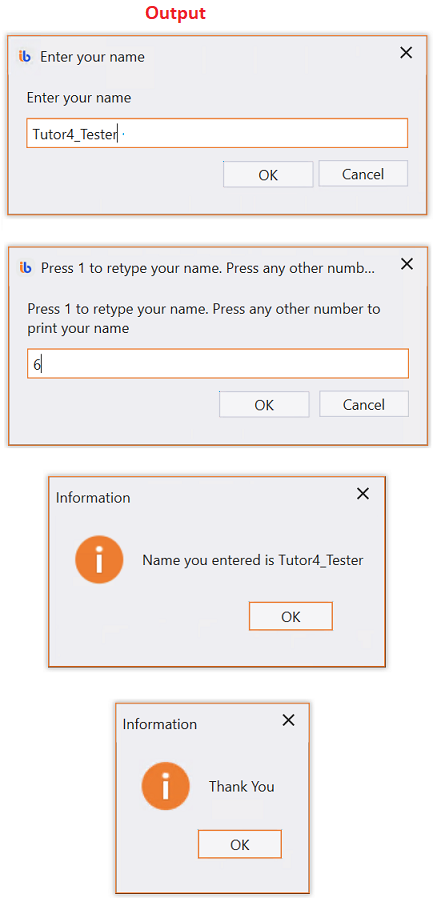
Here is a simple example that takes a name as input from the user and displays it based on the options entered.
Come, let's create this process using Process Designer:
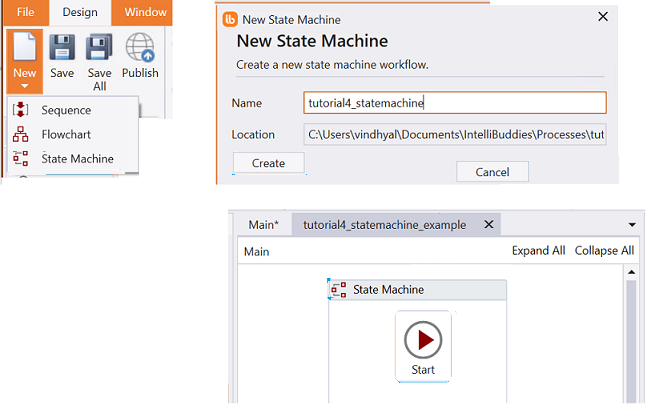
Step#1
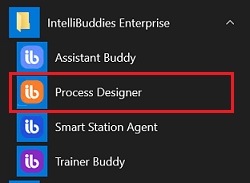
Launch and create a new process in Process Designer
- Launch Process Designer from the Windows Start menu located under IntelliBuddies Enterprise
Step#2
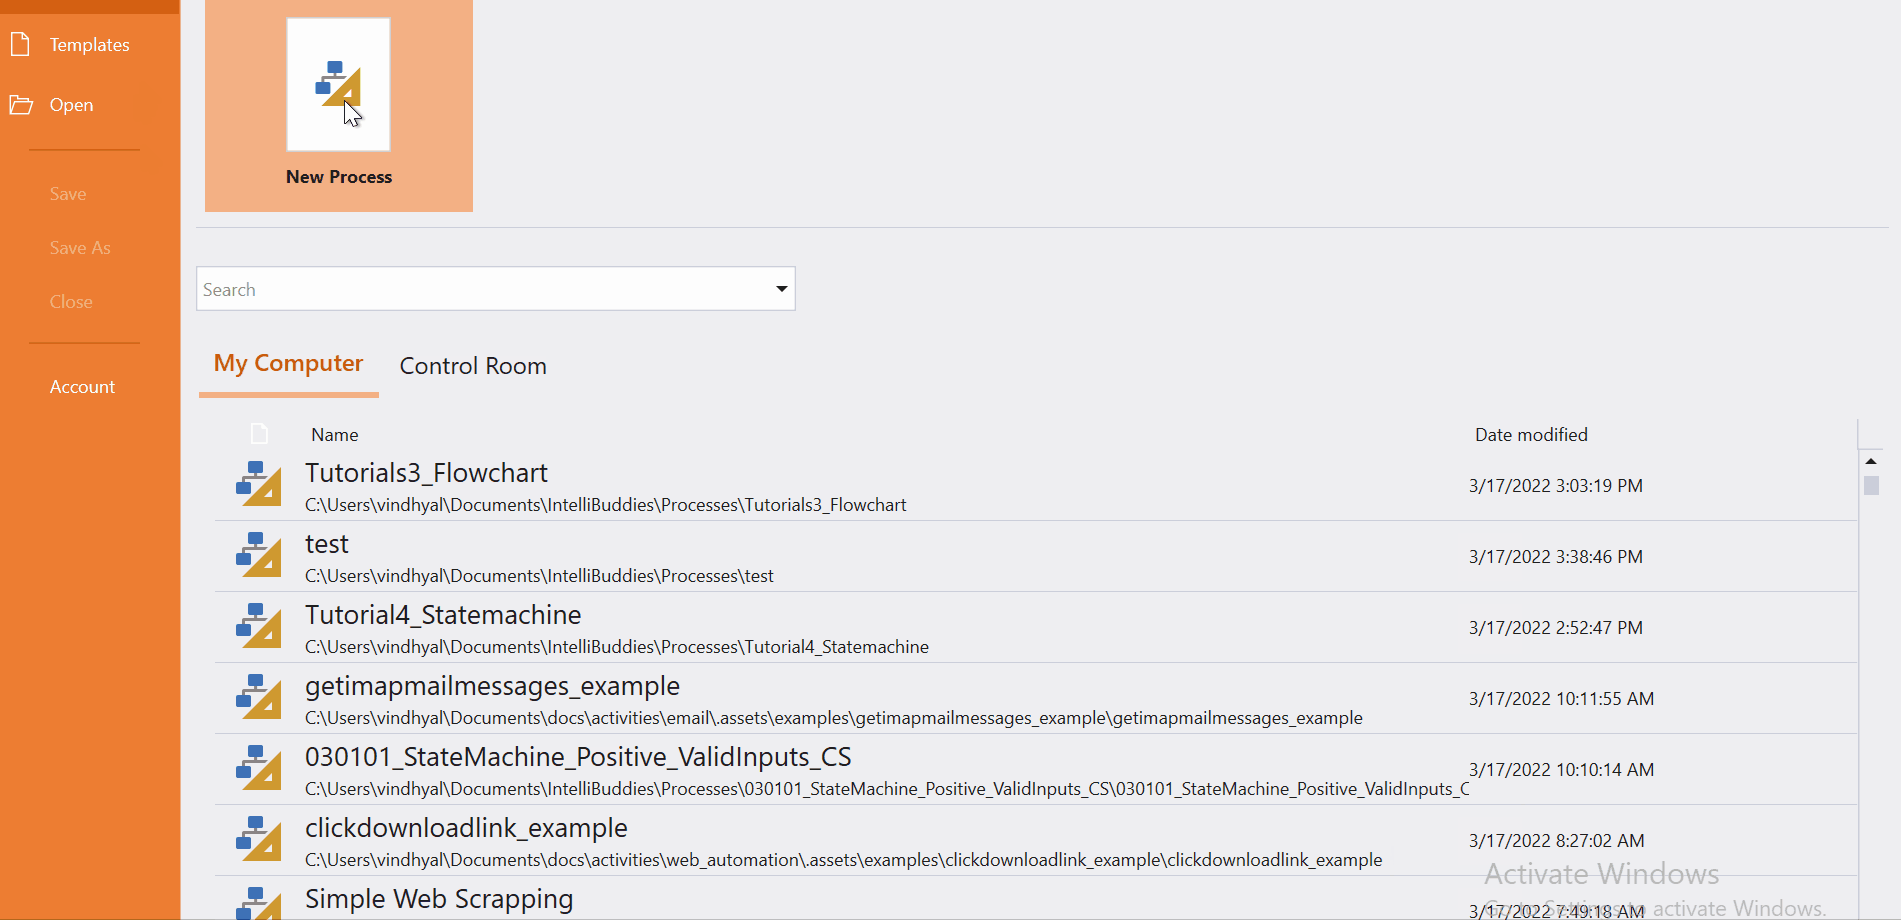
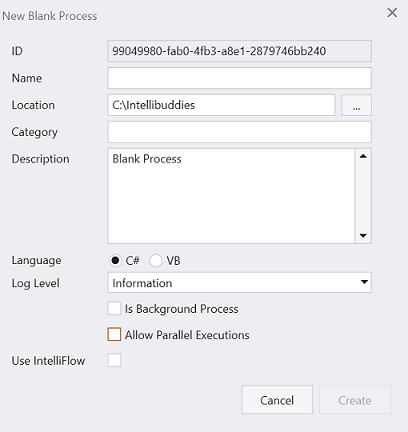
Create New Process
-
Click on New Process and fill in the new process details
Step#3
Create or add State Machine.
- Create new State Machine
Note: Here this State Machine is created as separate workflow. Invoke this workflow from main workflow for execution.
OR
- Add State Machine from activity panel to main panel.
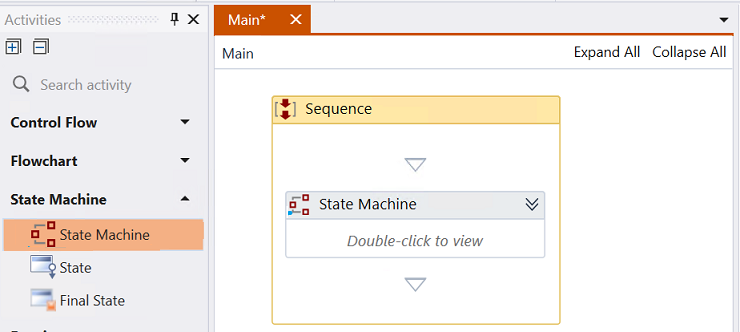
Step#4
Double click the State Machine to see expanded view.
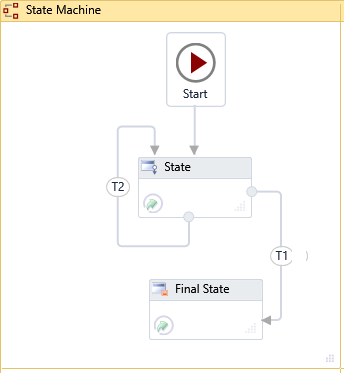
Step#5
-
In Activity panel search for State
-
Drag and drop State activity to main panel connecting to start of State Machine
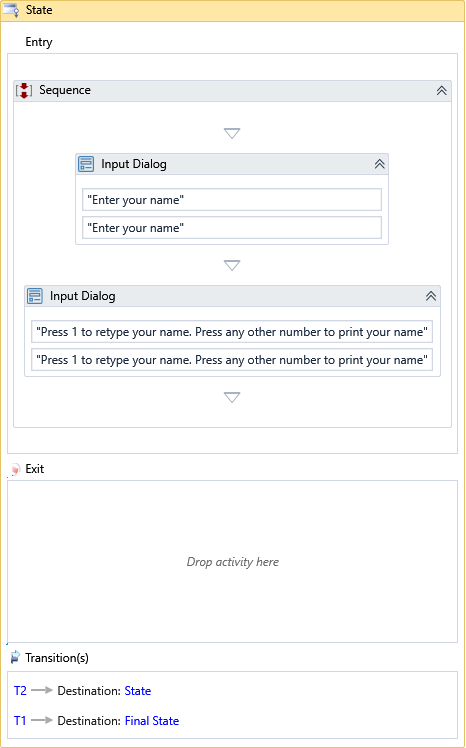
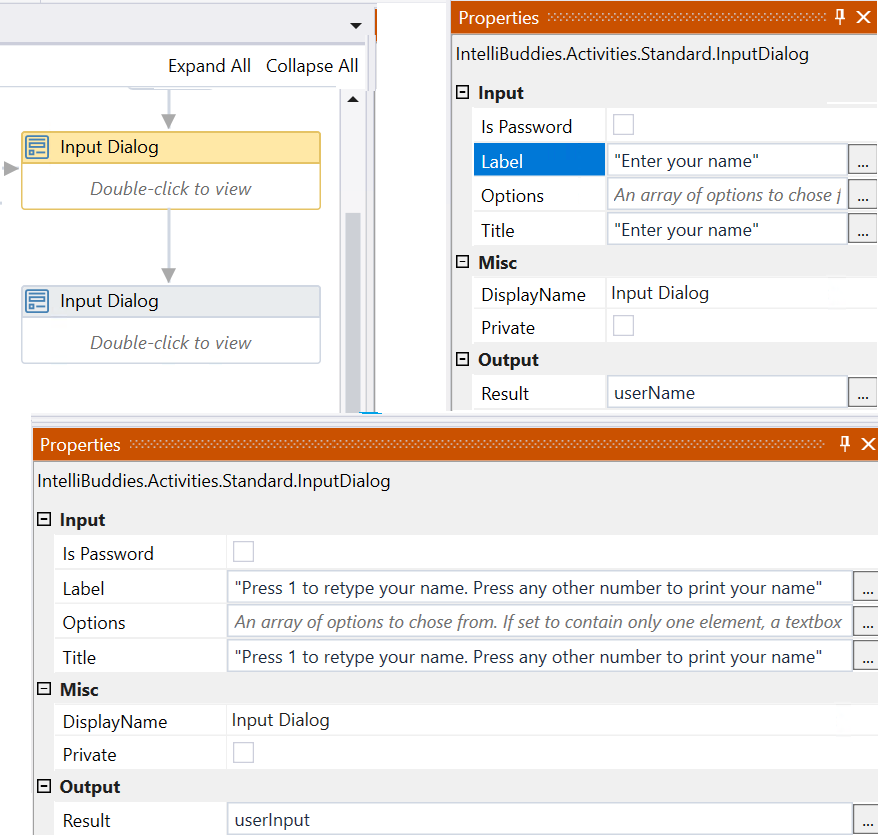
Step#6
Set the Input Dialog properties
- Input Dialog is added twice. One to get name input from user and other to check with user to display or reenter the name.
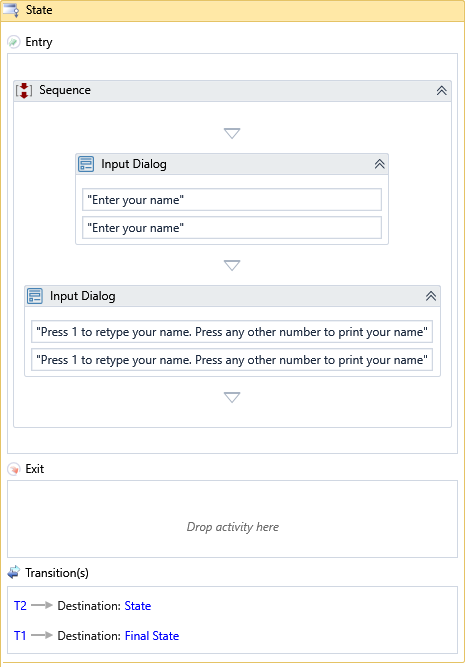
Step#7
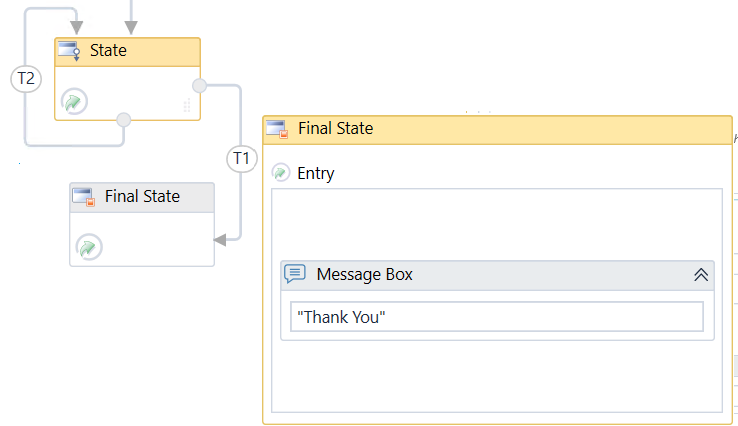
- Add two Transitions connecting the State and checking the user input to route the control based on condition.
![]()
Step#8
- Add Final State and then add Message Box inside it.
Step#9
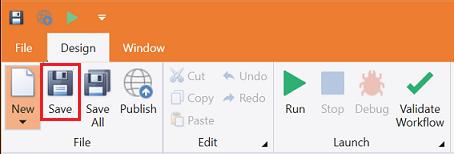
Save the process
- From the Design tab ribbon, click on Save
Step#10
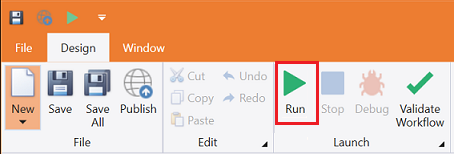
Run the process
- From the Design tab ribbon, click on Run
Step#11
Make sure the process executes and pops up an input dialog. Enter the name and click on Ok. Then message box with 'Input name is ...' appears.
Download Example (C#)