Introduction
Overview
IntelliTrainer is one of the components of IntelliBuddies. You can use IntelliTrainer to create document processing models from document templates. The trained document processing models can then be used as part of our process automation so that our Buddies can automatically recognize and extract data from the documents.
IntelliTrainer uses OCR Engine to extract text from images while being trained to generate a document processing model. Currently, only Tesseract OCR Engine is supported, and it comes ready to use without the need to install it.
Signing into AI Command Center
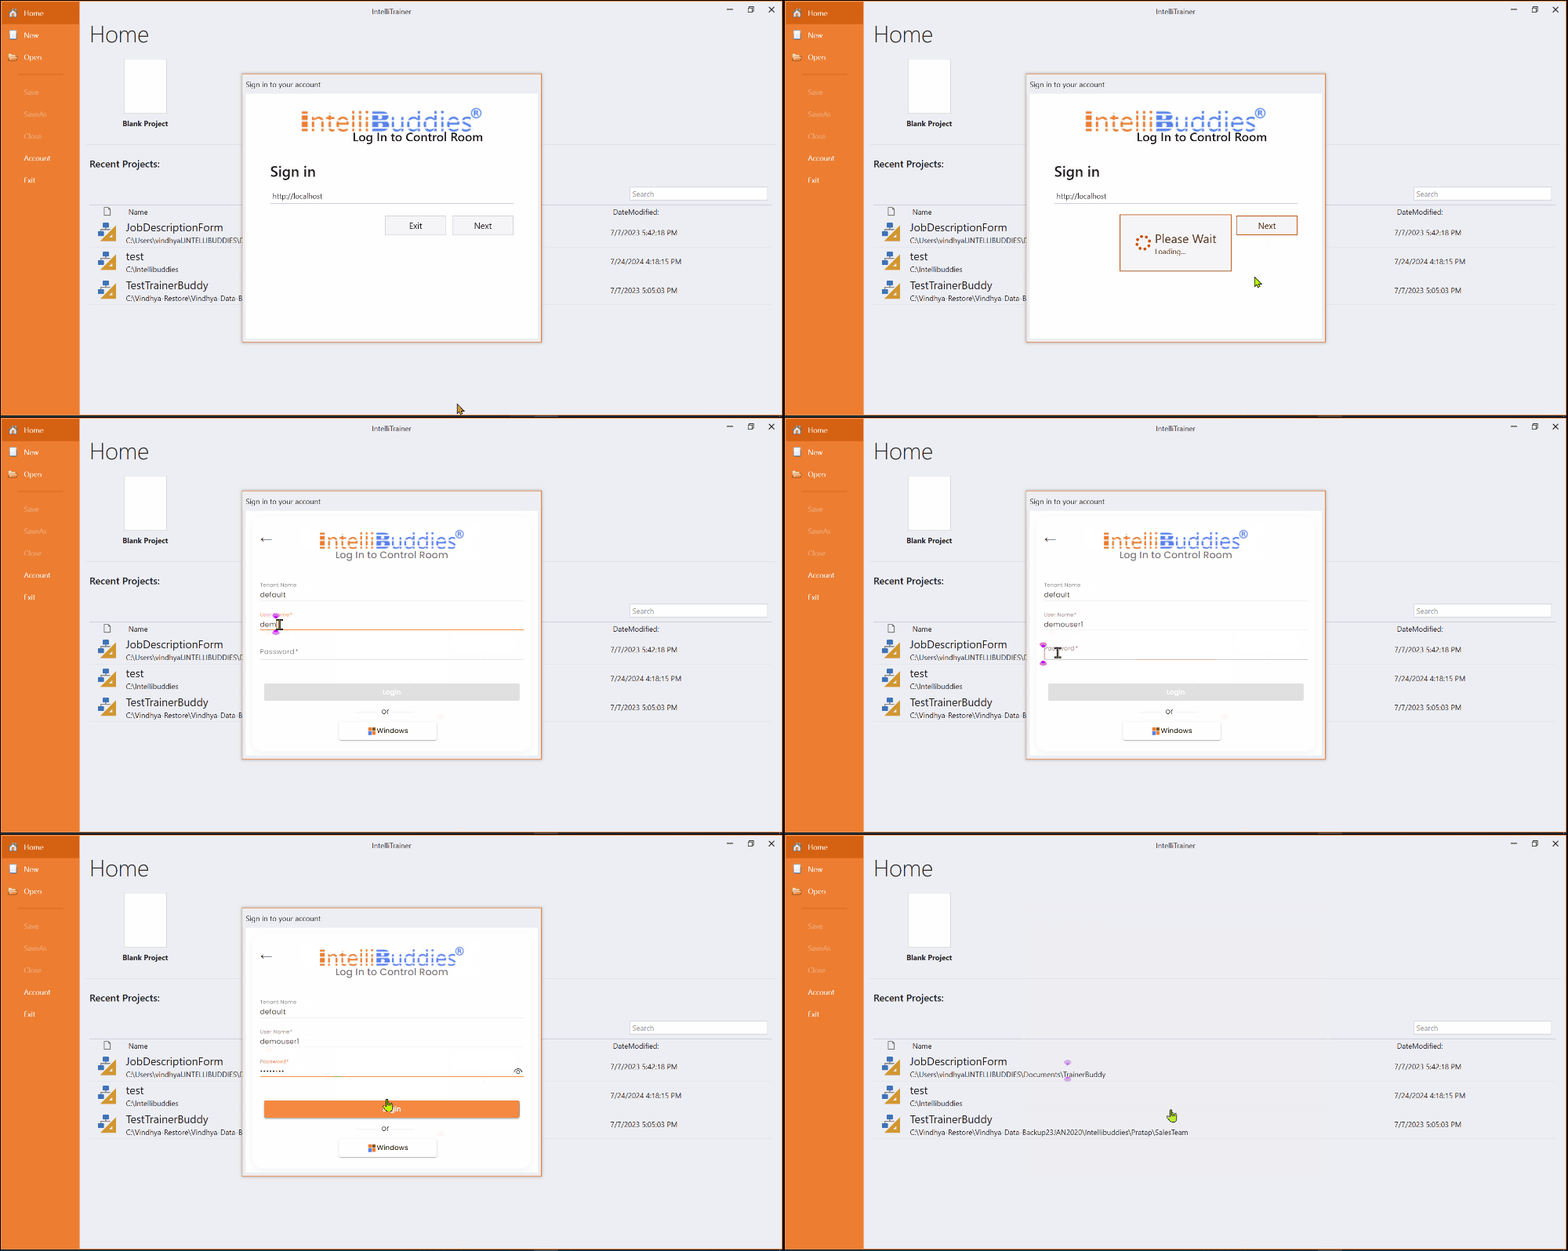
Invoking IntelliTrainer will pop a sign-in dialog requesting the AI Command Center connection details. Sign-in dialog provides fields for entering Tenant Name, User Name, and Password.
Using your system credentials, you can use the Windows button to sign in to the AI Command Center using Single Sign-On (SSO). This is allowed if the AI Command Center is configured to authenticate users using Microsoft Active Directory.
You can register to the AI Command Center using either Basic or LDAP Authentication by providing the following details. Ensure the user has a license to use IntelliTrainer.
The sign-in feature provides an option to connect AI Command Center, Process Designer, and Buddies using the user's account. This will help to simplify the process and offer better sync across the platform.
This will make the user's account the main link between IntelliBuddies components, removing the dependency of using a machine or license key while deploying client tools on the system and connecting it to the AI Command Center. This also enables floating licenses of client tools and provides more flexibility to the Organization in handling Process Designer and Buddy deployments.
| Field | Description |
|---|---|
| Sign in | Specify your AI Command Center URL |
| Tenant Name | Specify your tenant name. The system will default to the default tenant if not specified. |
| User Name | Specify the AI Command Center login user name |
| Password | Specify the password to login |
Once IntelliTrainer successfully connects to the AI Command Center, the license is validated, ensuring that the logged-in user has the right to use IntelliTrainer.
User Interface
IntelliTrainer contains multiple panels for easier access to specific functionalities. These panels can be docked, act as floating windows or auto-hide options can be enabled from the list of options.
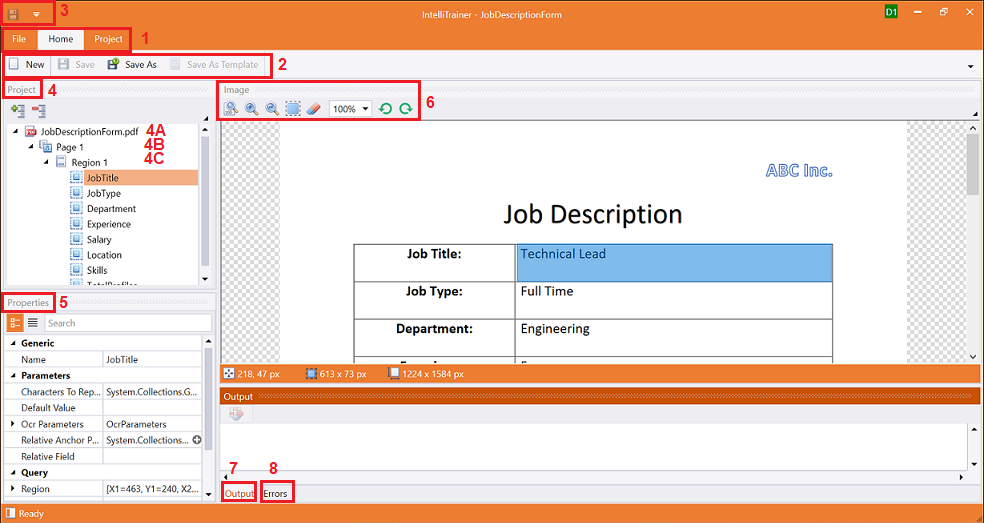
| Sl# | Name | Description |
|---|---|---|
| 1 | Ribbon Tabs | These tabs provide access to the three functional areas of IntelliTrainer.
|
| 2 | Ribbon Menu | Get access to various functionalities provided based on the Ribbon tab selected |
| 3 | Quick Access Toolbar | Provides quick access to perform following operations:
|
| 4 | Batch Panel | This panel lists all the document templates used for this document training model project. This panel lists the document training model project entities in a tree view. The root nodes represent different document templates used to train your current document training model project.
|
| 5 | Properties Panel | View and configure properties of the entity selected inside Batch Panel |
| 6 | Image Toolbar | Use the options in the Image toolbar to select, highlight, zoom in/out, and resize to 100% the desired region or field in the image. |
| 7 | Error Panel | View all errors thrown by the IntelliTrainer when validating the project. |
| 8 | Image Panel | View the selected document page template here. The selected region or the field will be highlighted. |
Image Toolbar
Use the options in this toolbar to select, highlight, zoom in/out, and resize to 100% the desired region or field in the image.
| Options | Function | Description |
|---|---|---|
| Resize | 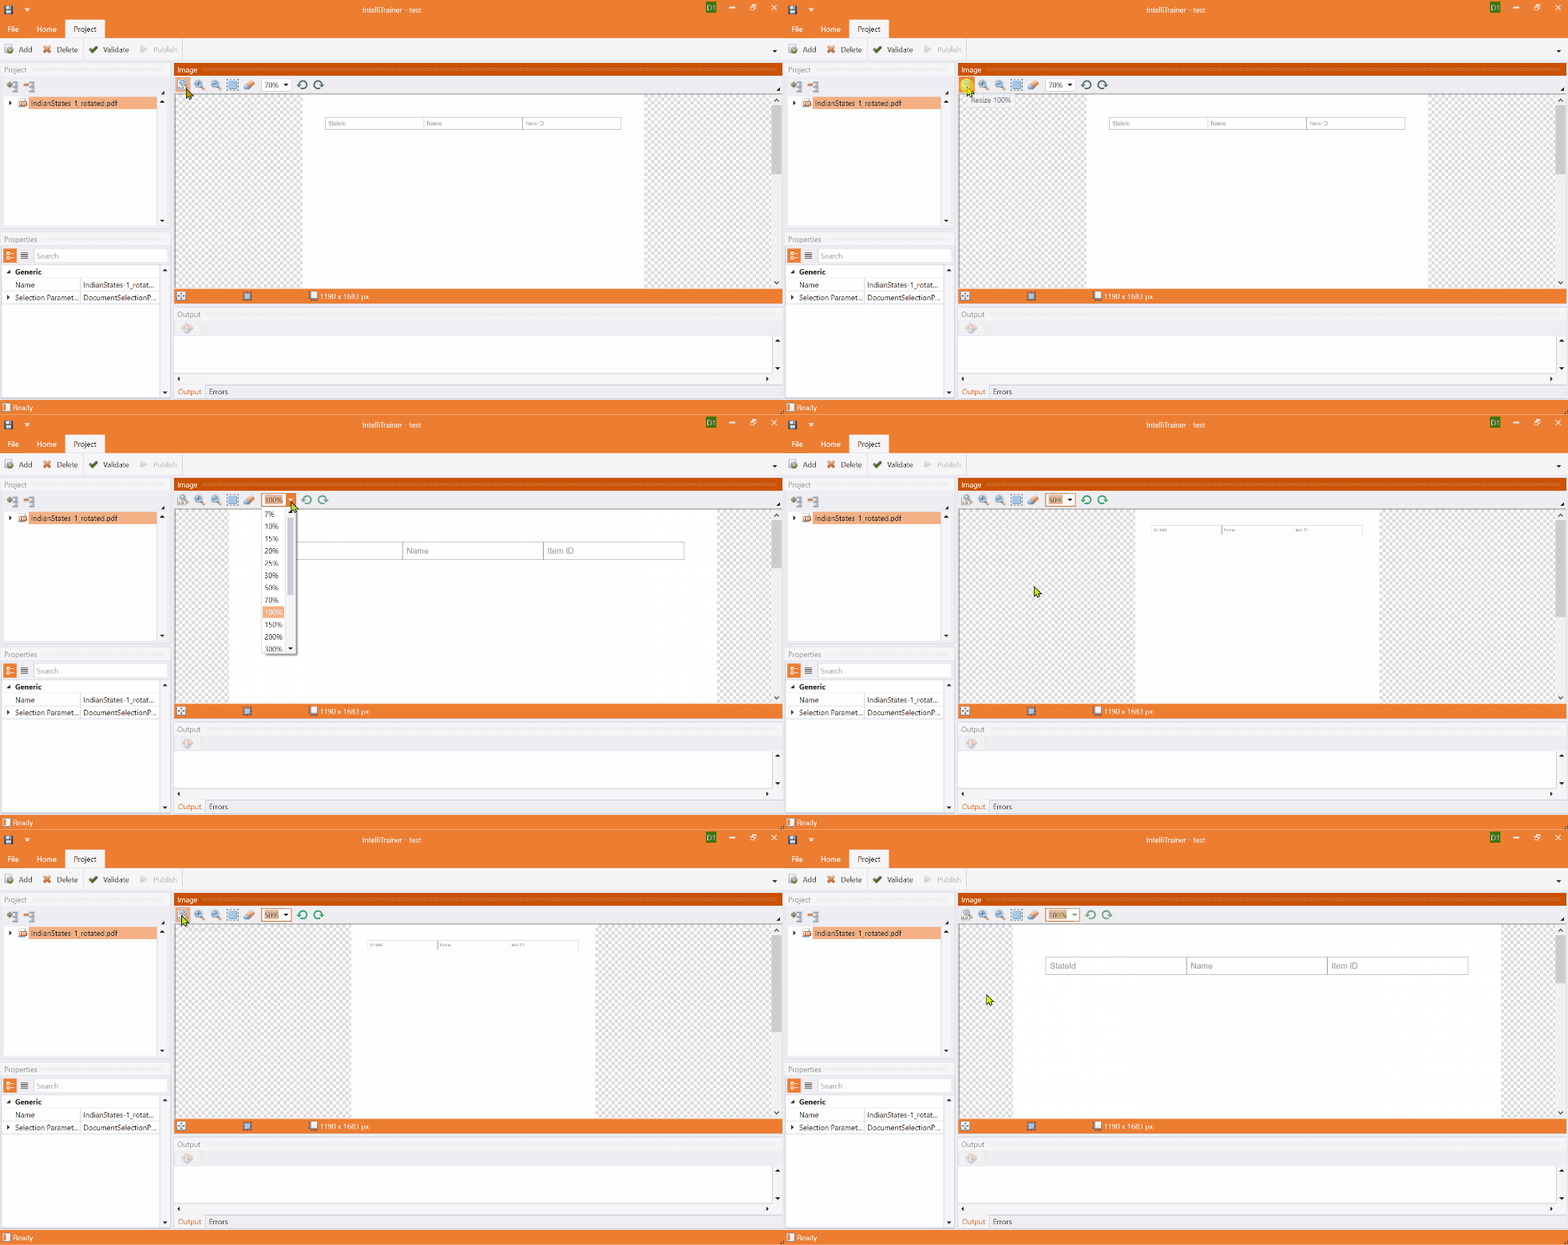 | Click this option to resize the image to 100% |
| Zoom In/Out | 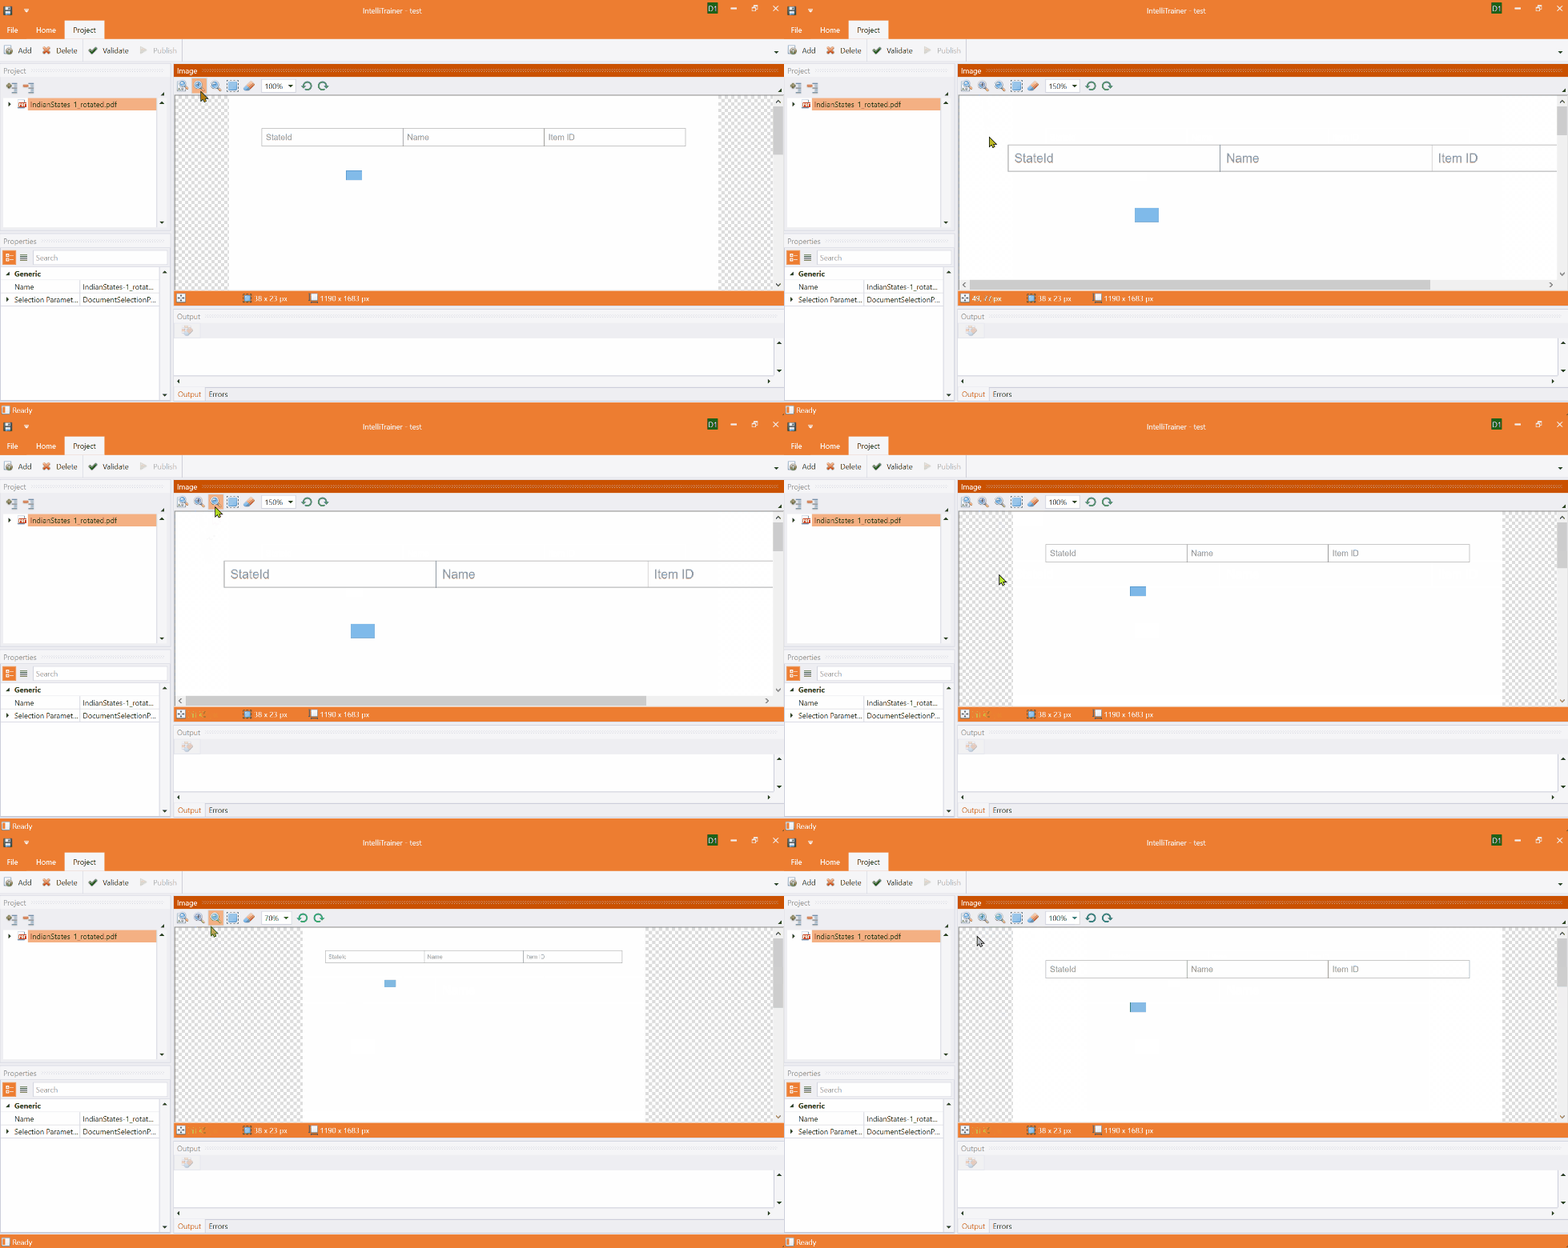 | Click the zoom in/out button to zoom in or out of the image. |
| Select All | 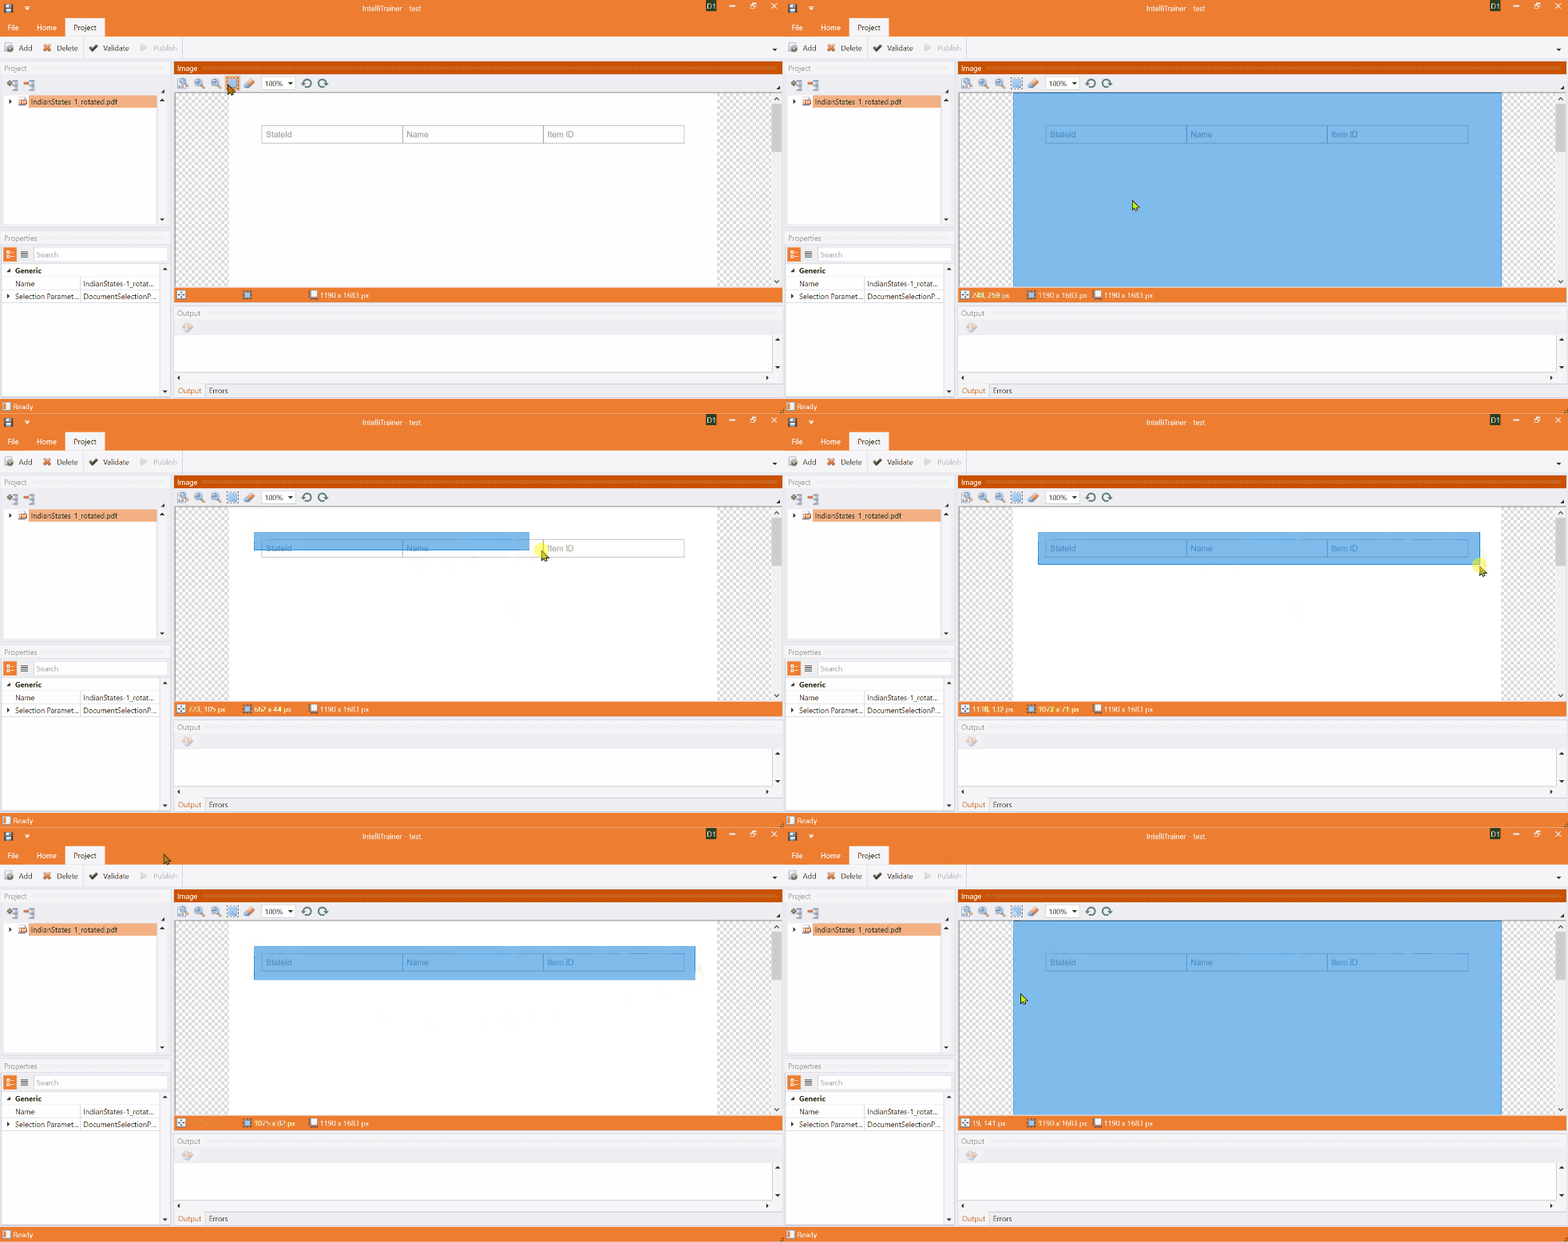 | Click this option to select the entire image. |
| Clear All | 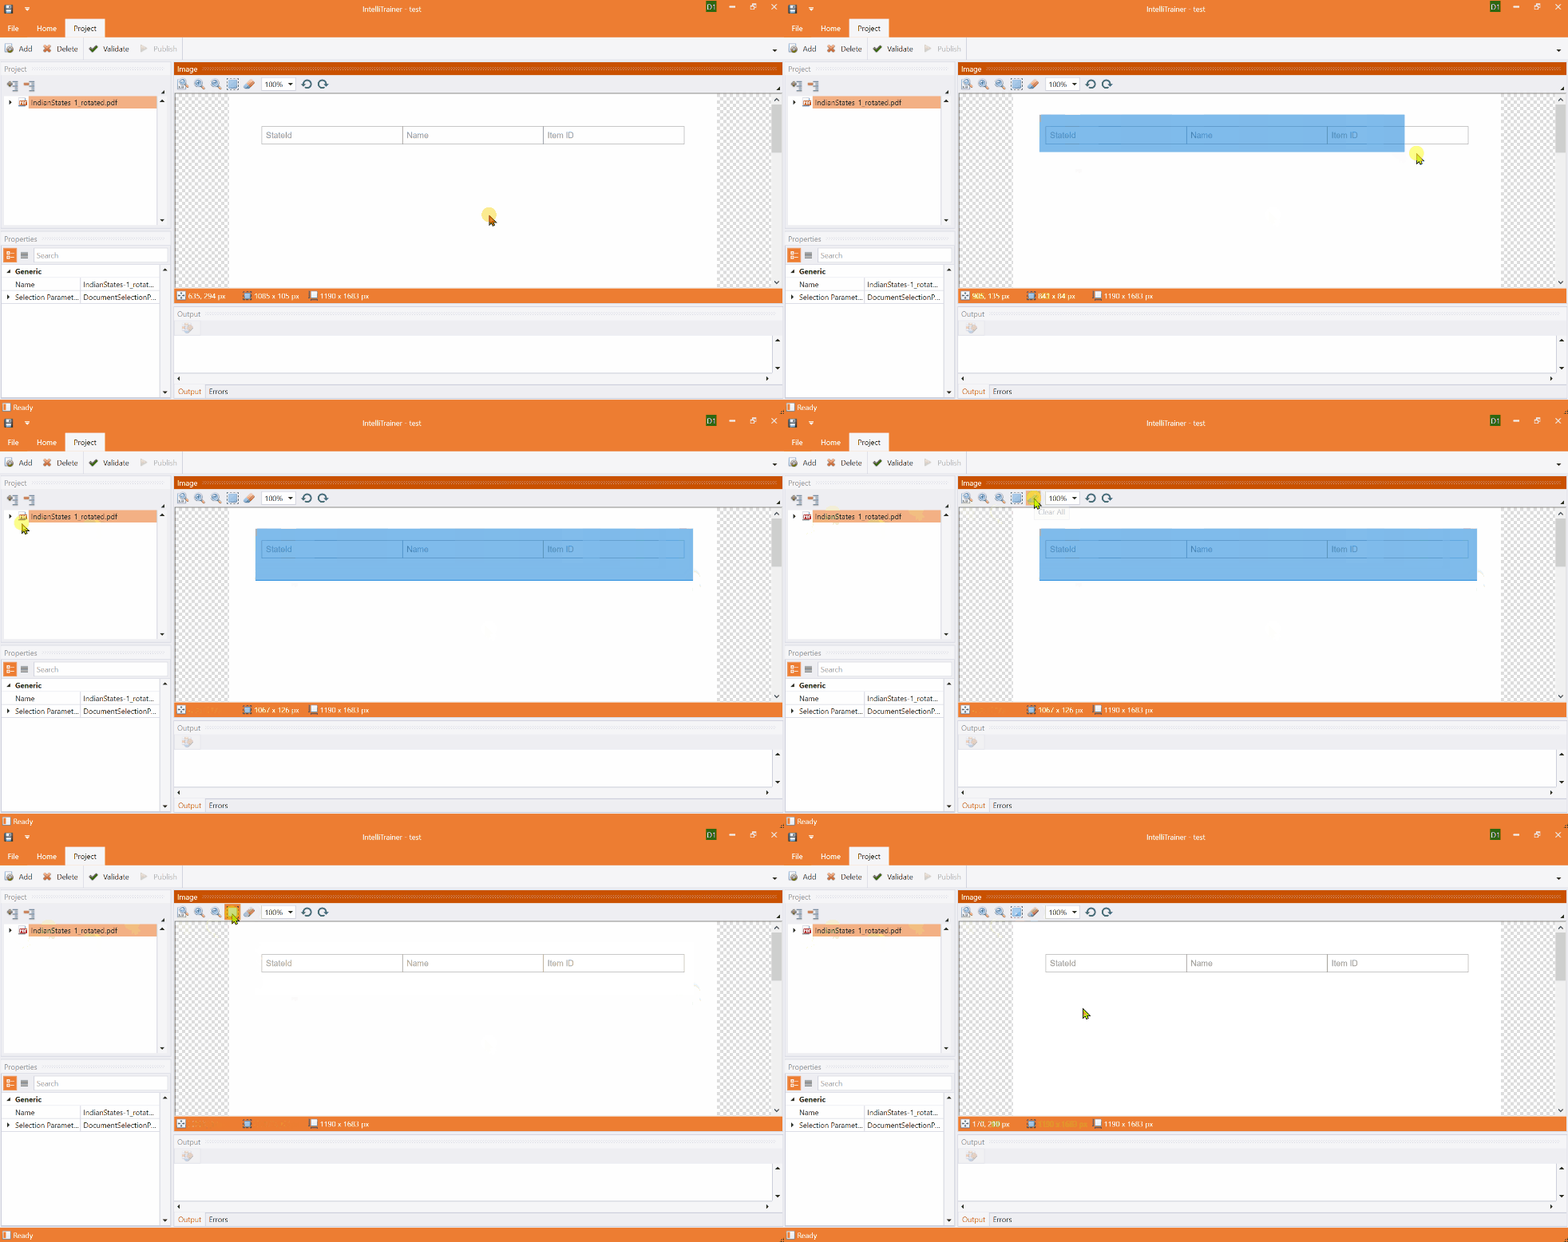 | Click this option to clear all selections. |
| Rotate Clockwise/CounterClockwise | 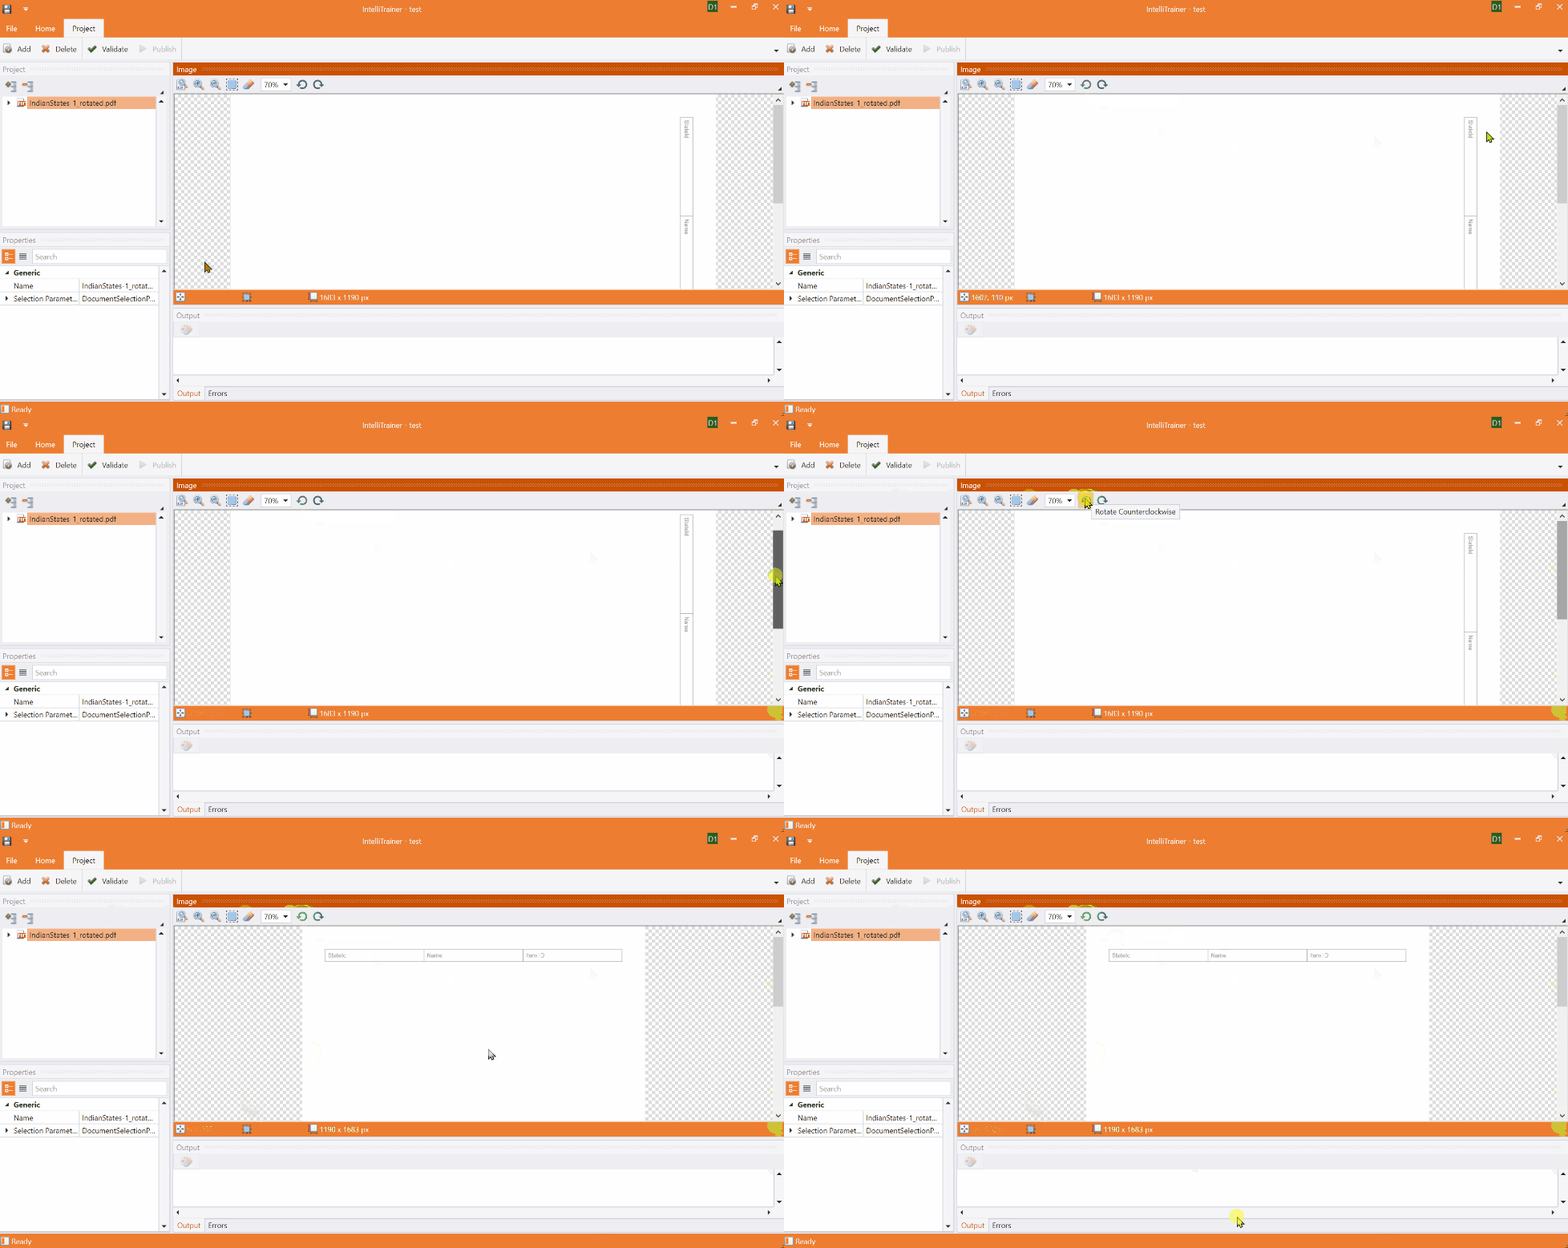 | Click this option to rotate the image clockwise or counterclockwise. |