Creating Flowcharts
Flowchart provides an alternate way of defining your process or workflow. It offers more branching logical operators, enabling you to create complex business processes more efficiently. It is more suitable for business users who know about the process to be automated and can easily depict it using a flowchart.
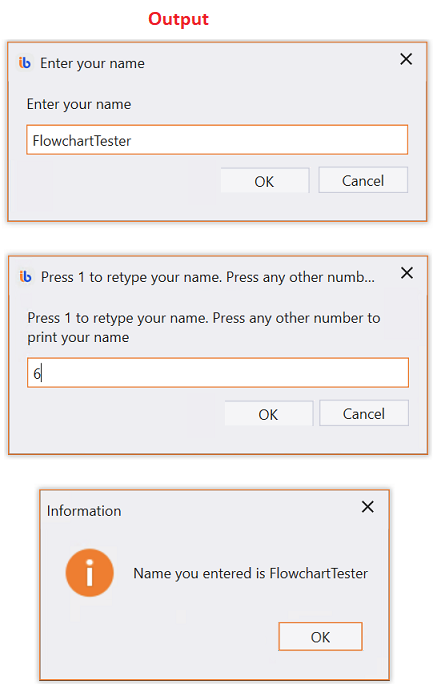
Here is example which takes name as input from user and displays based on the options entered. Displaying of name is added in new Sequence. Using invoke workflow, new Sequence is invoked to display the name entered by user.
Come, let's create this process in Process Designer:
Step#1
Launch and create a new process in Process Designer
-
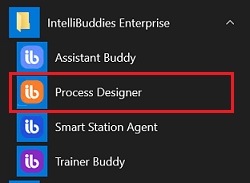
Launch Process Designer from the Windows Start menu located under IntelliBuddies Enterprise
Step#2
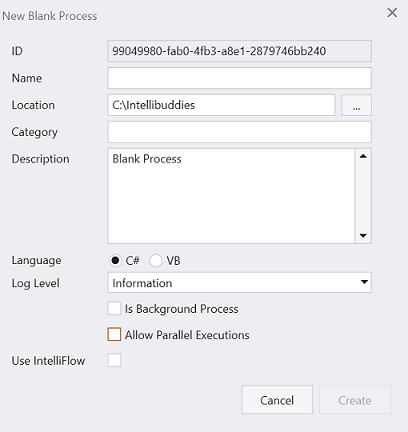
Create New Process
-
Click on New Process and fill in the new process details
Step#3
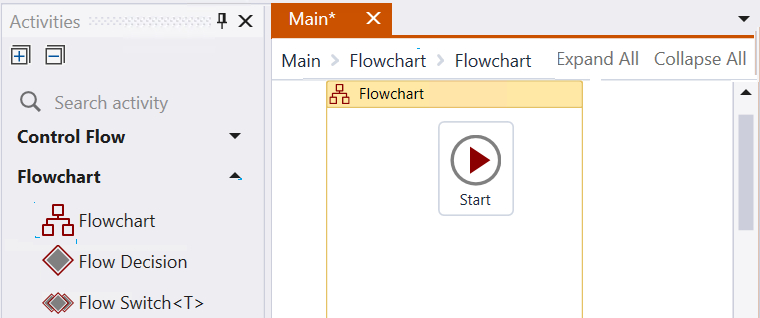
Create or add a flow chart.
- Create new Flowchart

Note: This Flowchart is created as a separate workflow. Invoke this workflow from the main workflow for execution.
OR
- Add a Flowchart from the activity panel to the main panel.
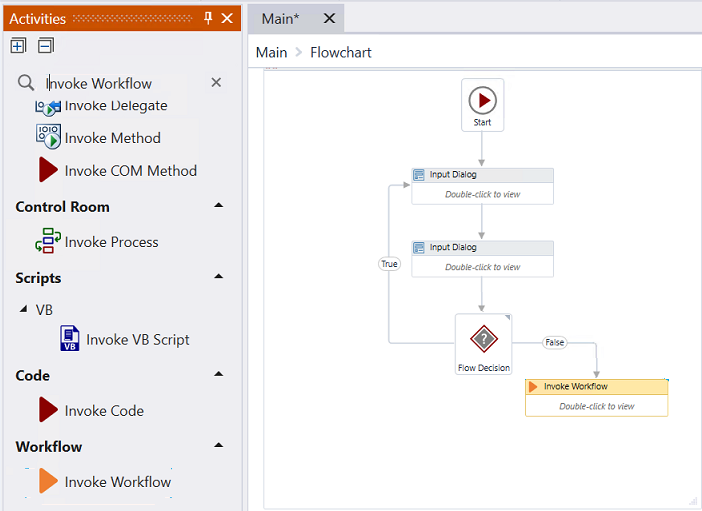
Step#4
- In Activity panel search for Input Dialog
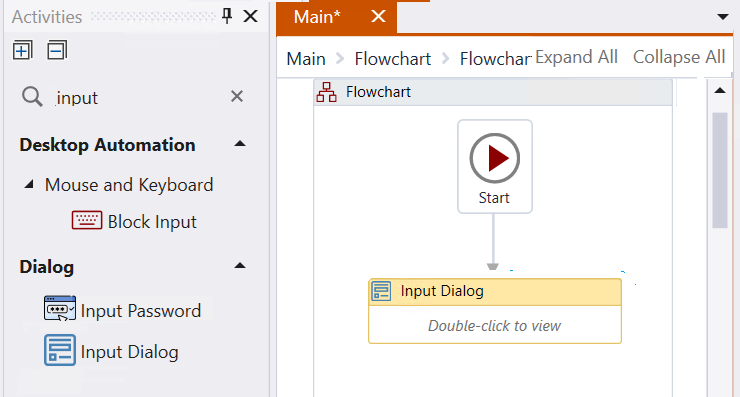
- Drag and drop Input Dialog activity to main panel connecting to start of Flowchart.
- Input Dialog is added twice. One to get name input from user and other to check with user to display or reenter the name.
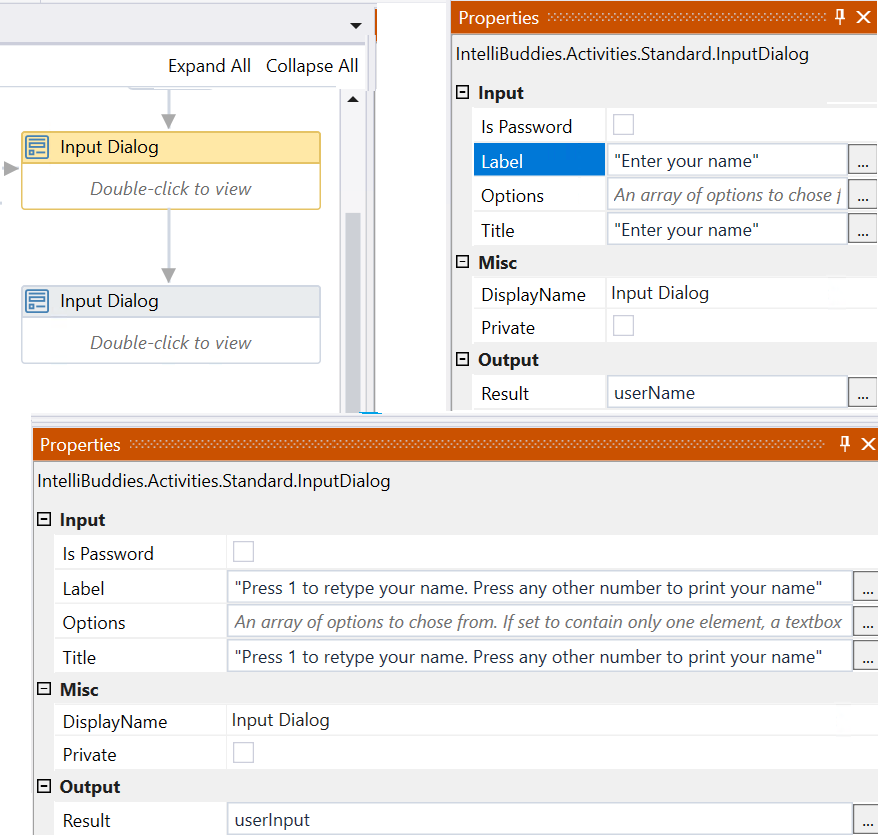
Step#5
Set the Input Dialog and Message Box properties
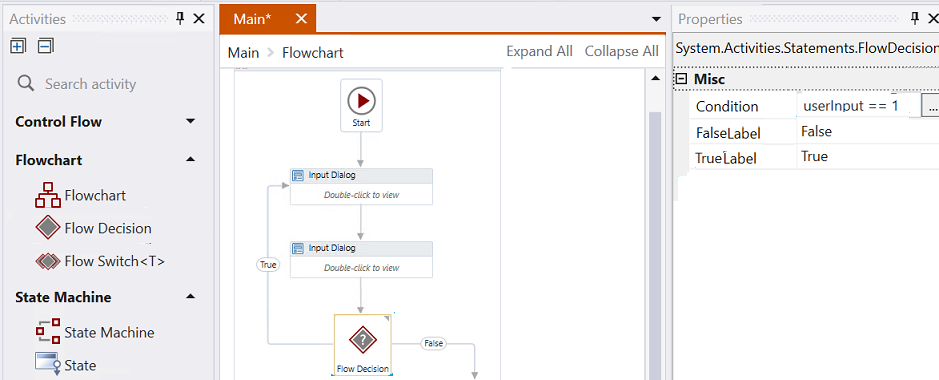
Step#6
- Add Flow decision connecting the flow and checking the user input to route the control based on condition.
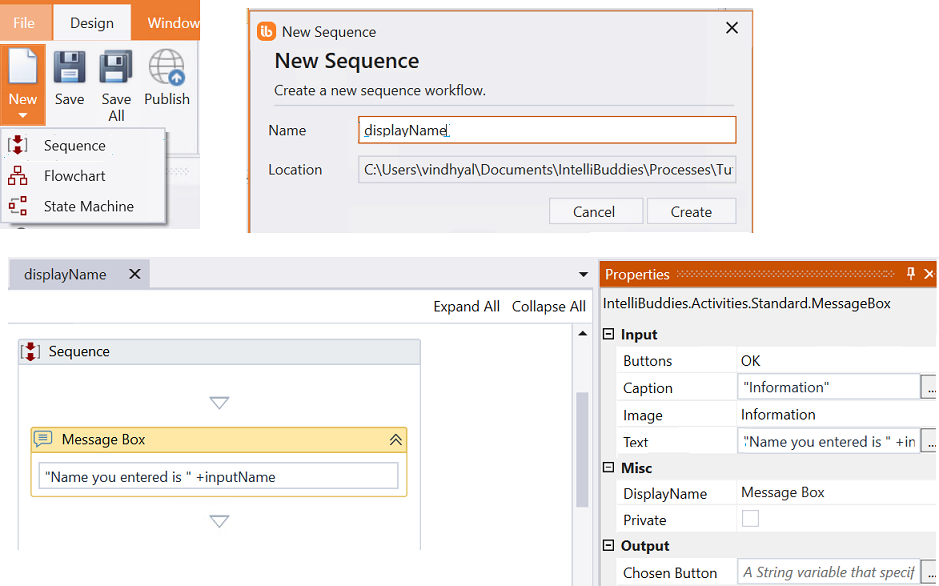
Step#7
- Create new Sequences and add Message Box to display the name.
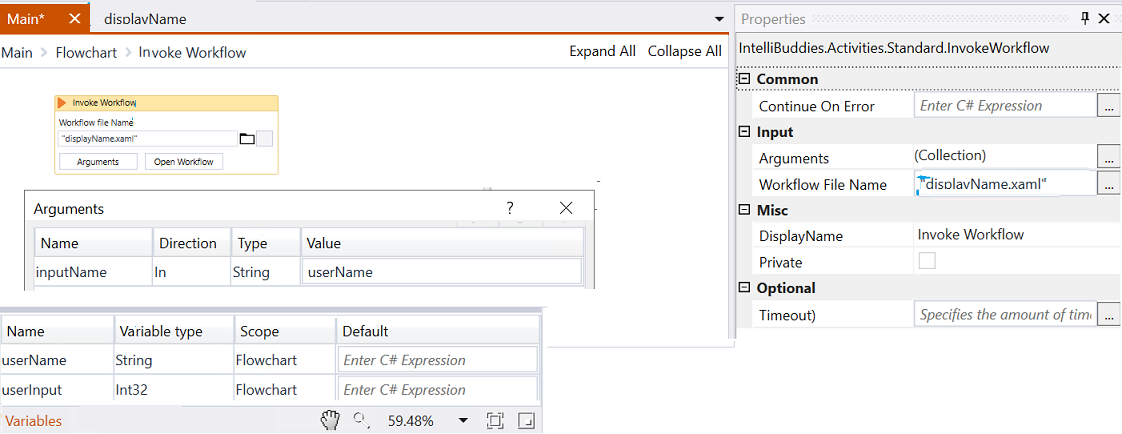
Step#8
- In Activity panel search for invoke workflow.
- Drag and drop invoke workflow activity to main panel.
- Set the parameters
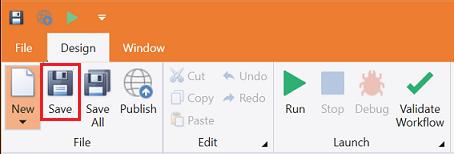
Step#9
Save the process
- From the Design tab ribbon, click on Save
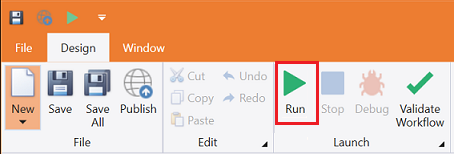
Step#10
Run the process
- From the Design tab ribbon, click on Run
Step#11
Make sure the process executes and pops up an input dialog. Enter the name and click on Ok. Then message box with 'Input name is ...' appears.
Download Example (C#)