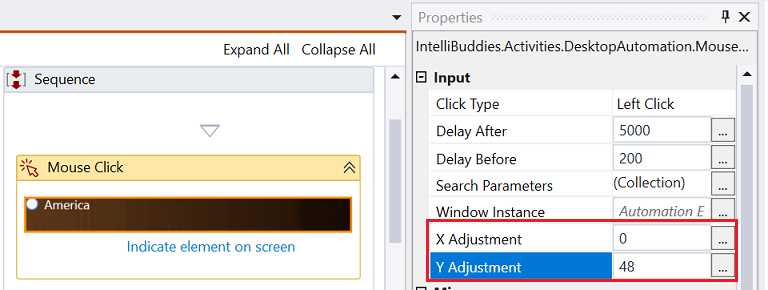
Excel activities provide various properties that users can configure to optimize their tasks. This guide details how to set these properties within Excel activities effectively:
Sheet Index and Name
You can specify the Sheet Index or Name in a workbook containing multiple sheets. By default, the active Sheet is considered if neither is specified.
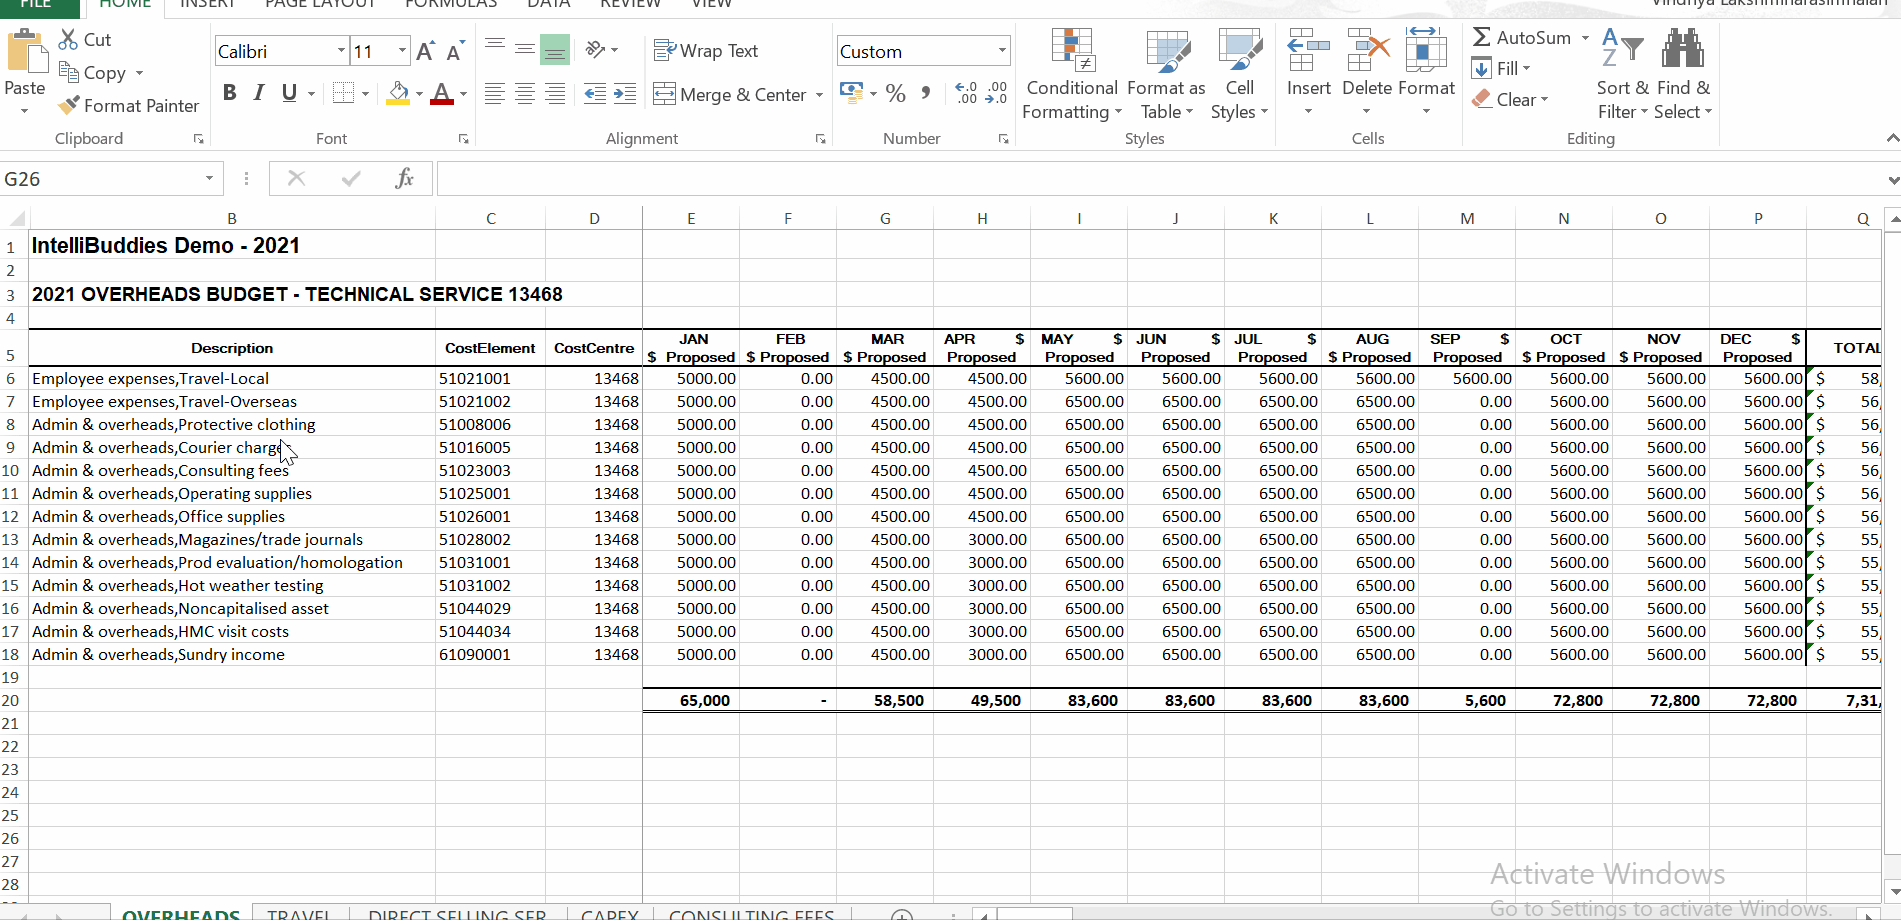
Workbook sheets are indexed starting from zero, moving left to right. For illustration, consider a workbook with three sheets depicted in the image below:

The index mapping for the sheets is as follows:
| Sheet Name | Sheet Index |
|---|
| Sheet1 | 0 |
| Sheet2 | 1 |
| Sheet3 | 2 |
| |
Column Index and Letter
The Column Index denotes a specific column within a sheet, beginning from zero (the leftmost column) and extending rightwards.
In Excel, columns are typically identified by letters. Below are examples demonstrating the correlation between numeric indices and their corresponding column letters.
| Column Letter | Column Index |
|---|
| A | 0 |
| B | 1 |
| C | 2 |
| ... | ... |
| Z | 25 |
| |
Row Index
The Row Index refers to a row in a sheet, starting from zero at the top and incrementing downwards.
Cell
A cell in a sheet is a unique location determined by combining a column letter and row index.
Note that while the Row Index is zero-based, the top row for a Cell is considered row 1. Thus, adding 1 to the row index is essential when formulating a cell address.
The following table provides examples of cell addresses for better understanding:
| Cell Address | Description |
|---|
| "A1" | First cell in the sheet, Column A, Row Index 0 |
| "D55" | Cell with Column D and Row Index 54 |
Range
The term Range describes a selection of cells within a spreadsheet. It is represented as a string and can take various formats, as exemplified below:
For example: "A1:B10", "A1"
- Defining the end of a range requires specifying an End Cell value. Without it, the End Cell defaults to the last cell on the Sheet containing data, commencing from the specified Start Cell.
Converting numeric index to letter
In process automation scenarios, you may need to convert a column's numeric index into a letter-based index. IntelliBuddies Excel utilities facilitate this conversion seamlessly.
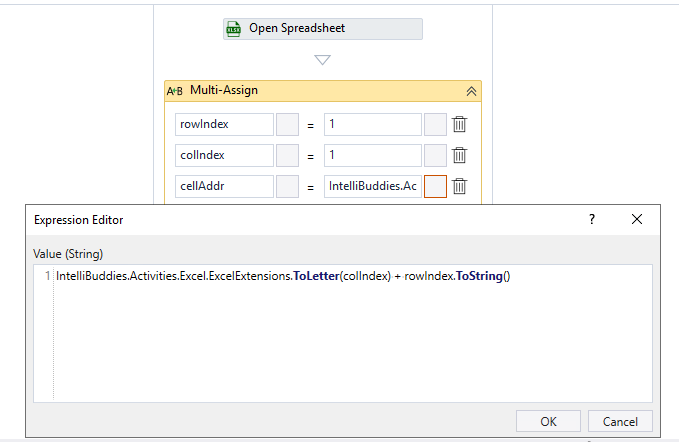
To convert a letter-based column index to a numeric one, use the following expression:
IntelliBuddies.Activities.Excel.ExcelExtensions.ToIndex ("A")