Using Dialog Activities
Dialog is a window that appears on screen, presenting information or requesting input. There are five activities to design different type of dialogs.
-
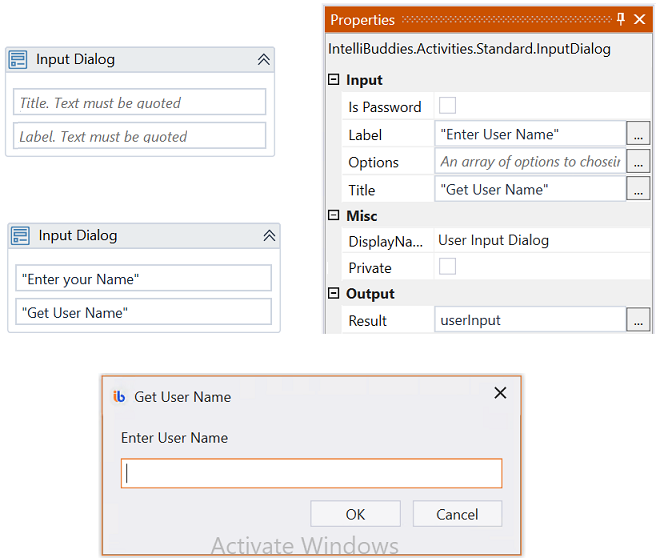
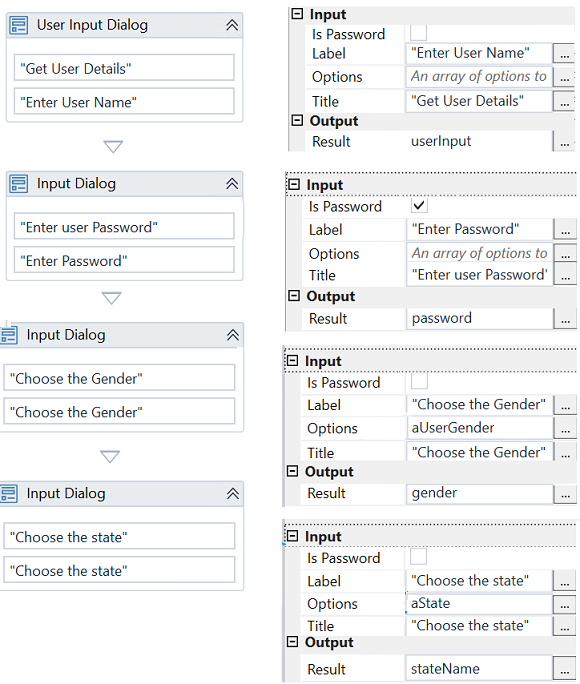
Input Dialog: It is used to get user input data. The dialog can be designed to get input in following varieties by using Options property of Input Dialog
- Without using Options property
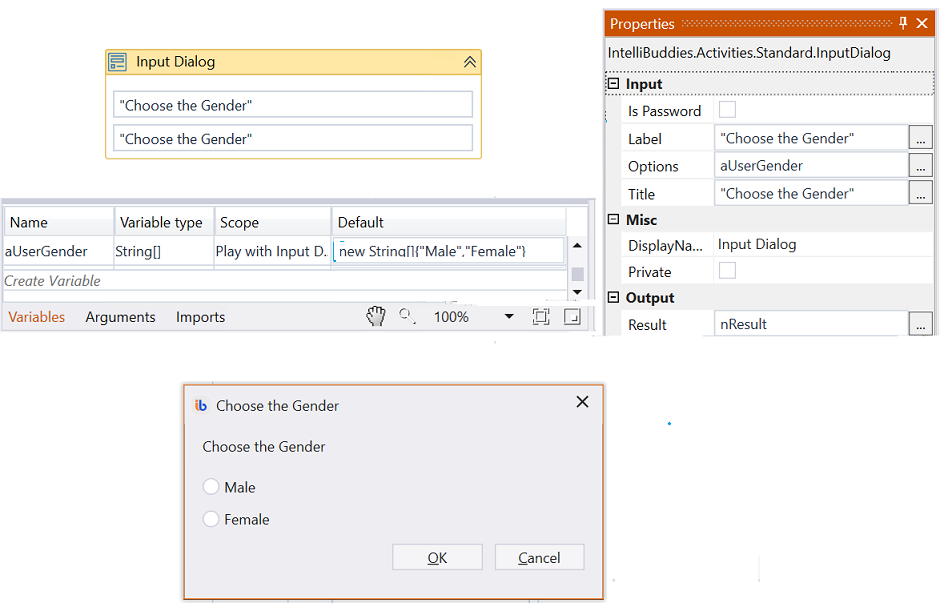
- To get Radio buttons by providing array of two items to Options property
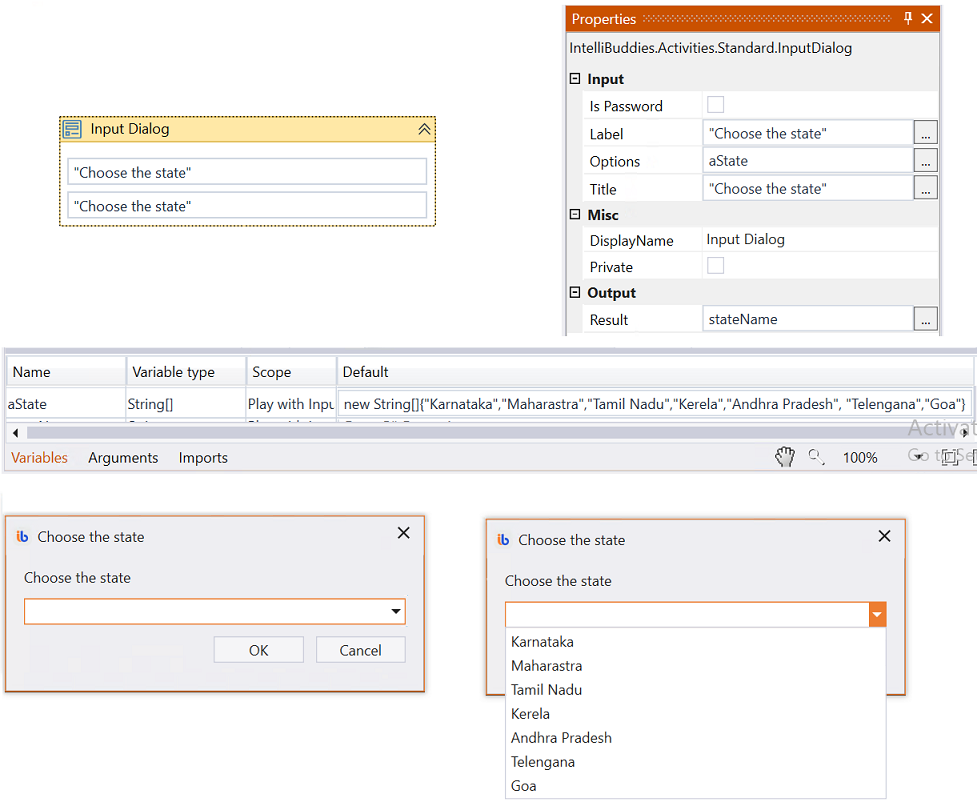
- To get Combo Box by providing array of more than two items to Options property
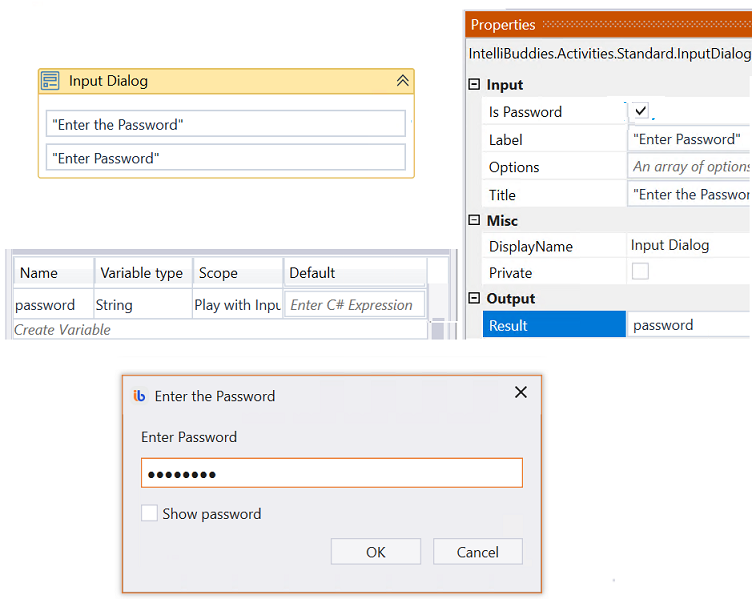
- Check the Is Password property to get password input dialog. But the password entered here is not encrypted.
-
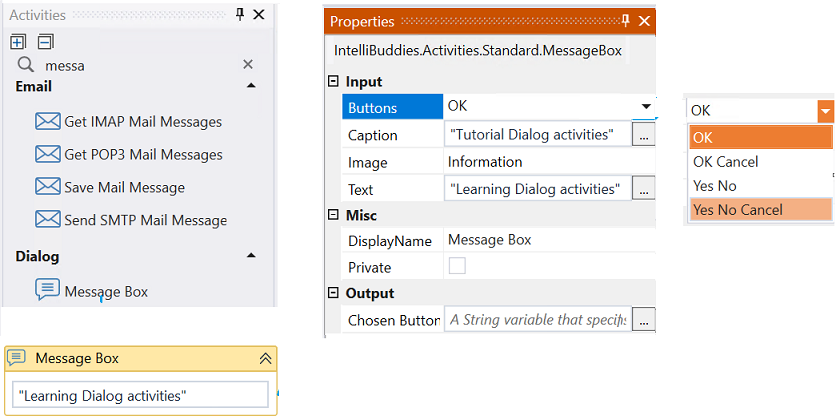
Message Box: Used to dispaly message with action button. Action button can be configured based on the requirement.
-
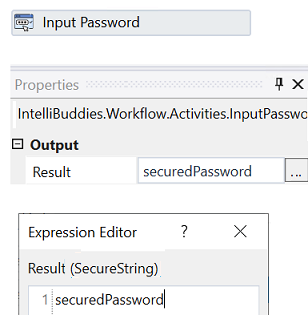
Input Password: It is used to accept password from the user and store the password in encrypted format.
-
Select Folder and Select File activities are used to get the user selected folder and file information.
Let us understand dialog activities with an example process. Here is an example that takes user information through the above dialog activities and writes the user information in output and text file in the user-chosen folder and file.

Come, let's create this process in Process Designer:
Step#1
Launch and create a new process in Process Designer
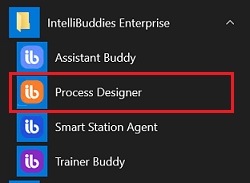
- Launch Process Designer from the Windows Start menu located under IntelliBuddies Enterprise
Step#2
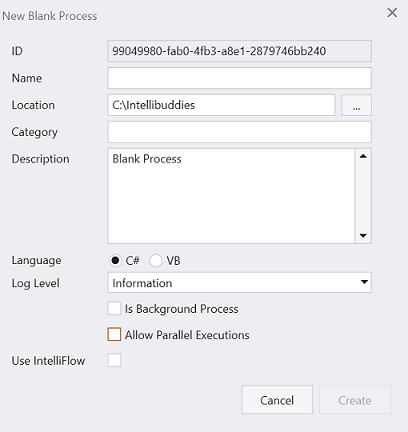
Create New Process
- Click on New Process and fill in the new process details
Step#3
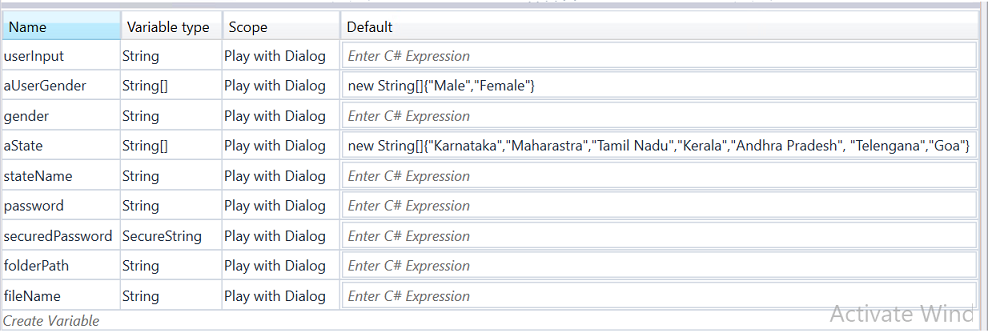
Add variables to hold the user information.
Step#4
Add Message Box to display welcome message.

Step#5
- In Activity panel search for Input Dialog
- Drag and drop Input Dialog activity to main panel.
- Add four Input Dialog and set appropriate parameters to get normal, radio button, combobox and password as user input. Follow the instructions provided in begining section of this page.
Step#6
Add Input Password to get and store the password securely.
Step#7
Add Select File to choose the folder to place the output file. Add Select File to choose the text file to write the user information obtained in above steps.

Step#8
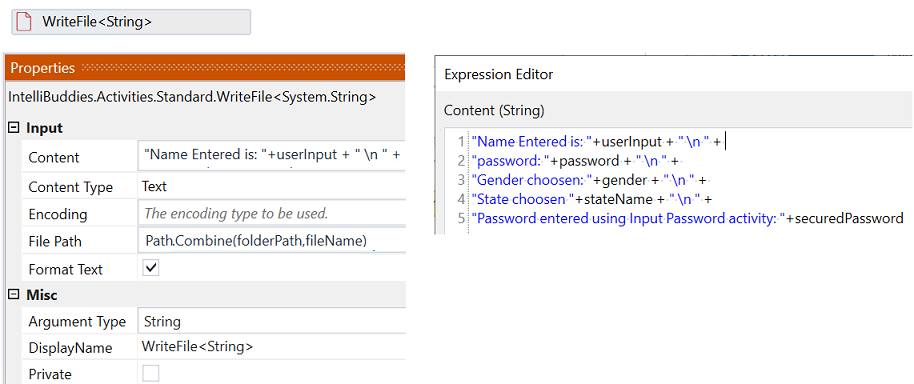
Add Write File to write user information to text file.
Step#9
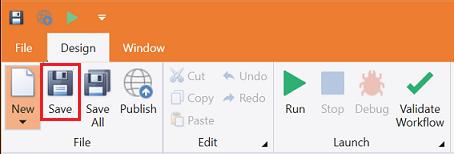
Save the process
- From the Design tab ribbon, click on Save
Step#10
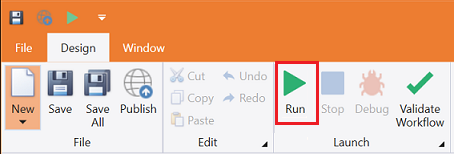
Run the process
- From the Design tab ribbon, click on Run
Step#11
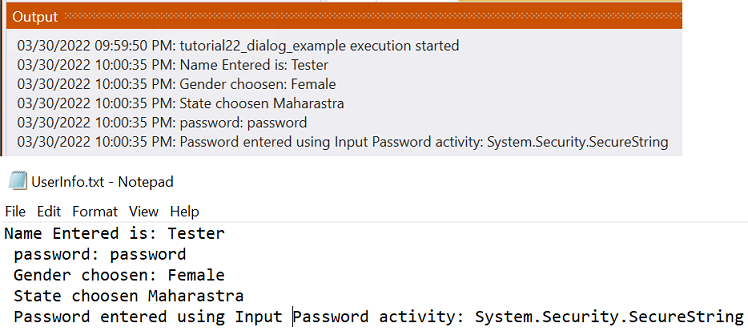
Make sure the process executes and pops up input dialogs. Enter the user information (Name, password, gender, and state). The user information is displayed in the Output window and written into a text file.
Download Example (C#)