Creating IntelliAppZ MSI
Publishing the AppZ
On publishing the application, it creates a stand-alone IntelliAppZ MSI file. You can use this MSI to install this AppZ on any windows machine.
-
Click the Publish button on the ribbon.
-
Publish form will appear
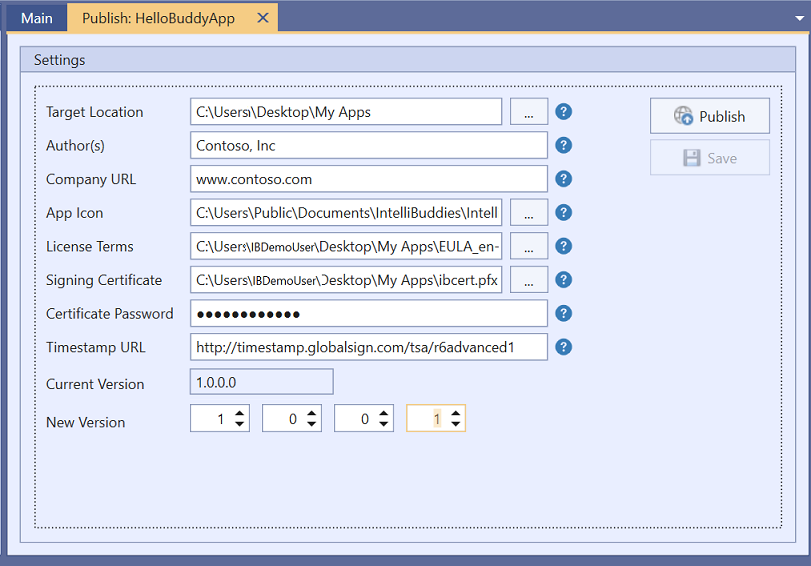
Here are steps to fill out the publish form:
- Step 1 Choose the Target Location path. Generates and locates the MSI file at this path.
- Step 2 In the Author(s) field, provide the company name or individual author(s) name who has created the app.
- Step 3 In the Company URL(s) field, provide the company's website URL if any.
- Step 4 Choose the App Icon for the application. The same icon appears for this AppZ.
- Step 5 In the License Terms field, provide the path of the company's or individual's EULA, which should be in rich text format (.rtf). It will be shown to the end user while installing your app.
- Step 6 Specify the file path of the Signing Certificate for signing the MSI installer.
MSI gets generated with an Unknown Publisher identity if no certificate is specified.
Here are a few links explaining the Signing Certificate and its creation
-
Step 7 If the certificate file (.pfx) is password protected, specify the password.
-
Step 8 Specify the timestamp server URL you want to use for signing. Timestamping ensures that the code will not expire when the Certificate expires because the system validates the timestamp.
-
Step 9 Specify the new version by incrementing the revision number for all changes except those involving service credit mapping. For changes to service credit mapping, upgrade the major version.
-
Step 10 Click on the Publish button. It will create an MSI installer at the specified location. You can view the logs in the Output window.
-
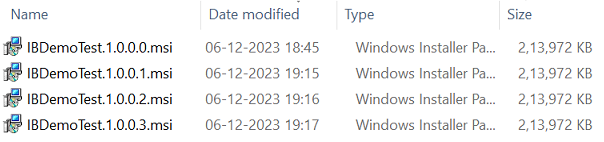
Here is the screenshot of the MSI file created for an AppZ.