Import
Overview
The import functionality in IntelliBuddies Control Room allows users to seamlessly import process definitions and associated resource packages for efficient management and deployment. This feature is designed to enable smooth migration of automation solutions across different environments, facilitate collaboration among teams, and ensure the integrity of your automation assets. By importing these packages, you can preserve your processes' configuration, logic, and dependencies, making it easier to replicate, move, and manage your automation seamlessly.
Import Jobs
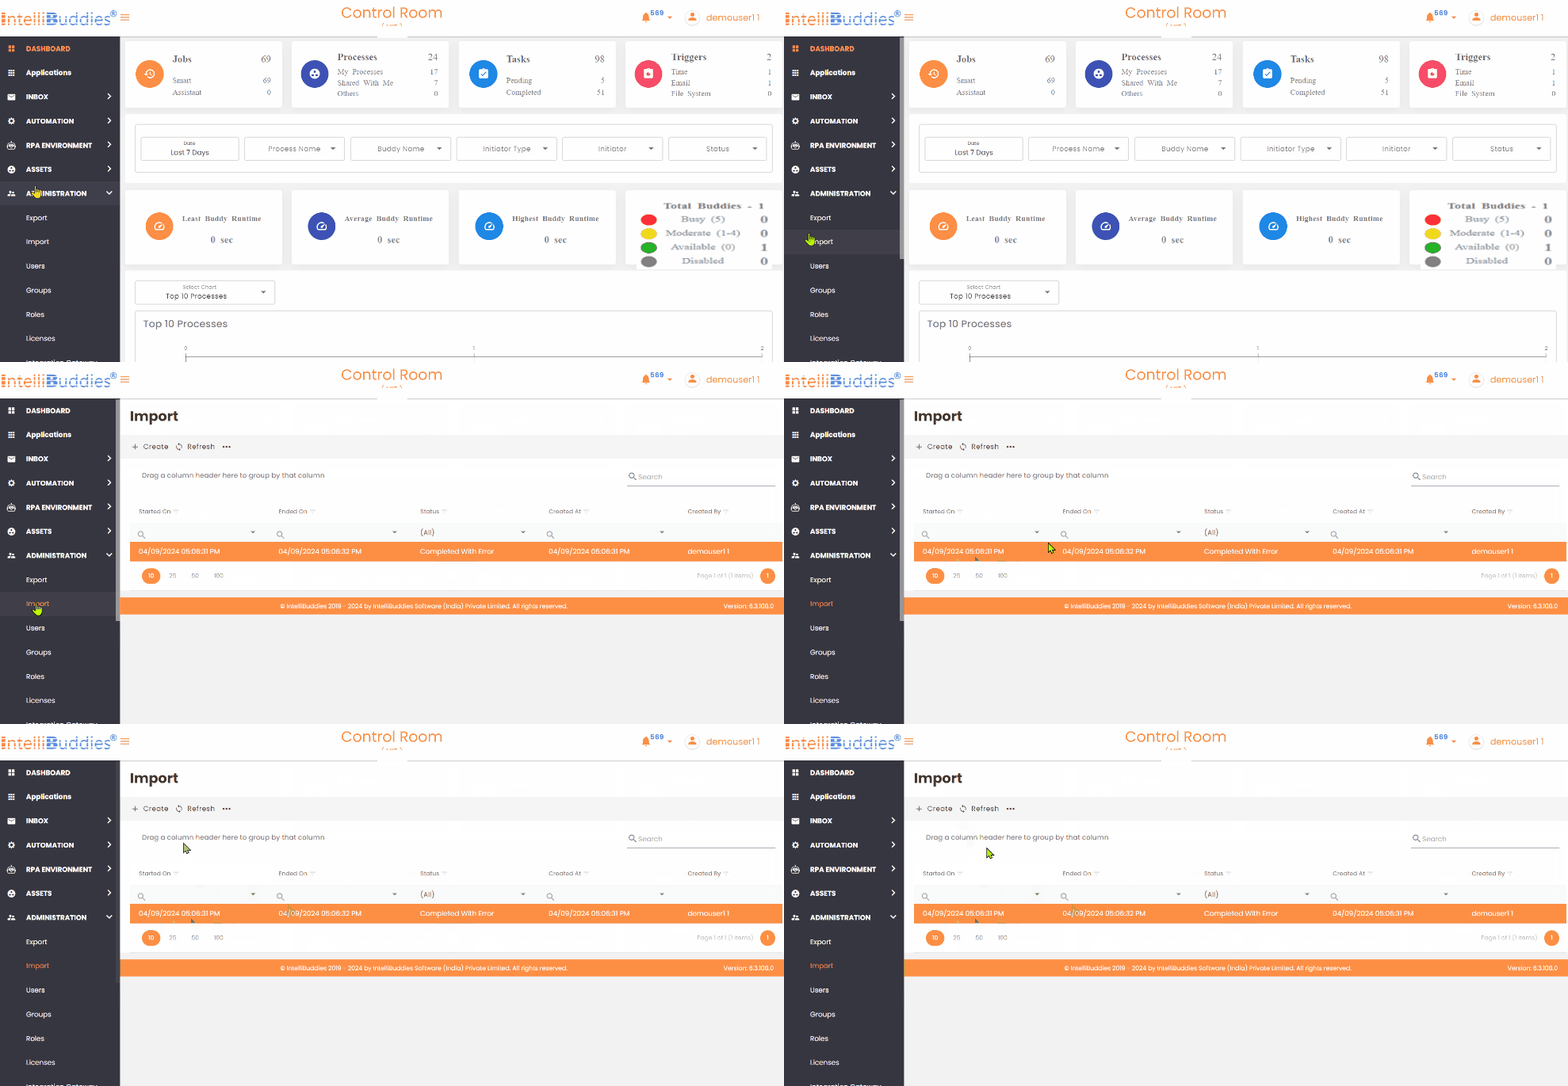
You can create an import job manually from the Control Room user interface, and users can view these jobs from the ADMINISTRATION > Import page.

The Import page within the Control Room allows you to manage all your import jobs. When you select and right-click a job, the following context menu options will be available.
| Options | Description |
|---|---|
| View | You can view the details of the selected job |
| View Report | Displays the report for the selected job on the Import page, detailing the import status for each selected entity |
| Delete | Clicking this option will delete the chosen Import job |
Create Job

- Click on Toolbar-Menu >
Create button
- Click on the browse button and select the package file to import
- Select the entities that you want to import into the Control Room under individual tabs
- Use the Next and Back buttons to navigate to the next/previous entity for selection.
At least one entity has to be selected to create a job.
- Click on the Create button
View Job
You can view the details for the associated jobs from the Import page.

- Select the Job from the corresponding Import page
- Click on Context-Menu > View option
View Job Details
From the Import page, users can view the report for the associated jobs. It shows the details of each selected entity's import result.

- Select the Job from the corresponding Import page
- Click on Context-Menu > View Report option
The following table explains the entity import statuses.
| Options | Description |
|---|---|
| Imported | The entity associated with this entry has been successfully imported into the Control Room. |
| Overwritten | The entity associated with this entry has been successfully imported into the Control Room by overwriting an existing entry. |
| Skipped | The entity associated with this entry is skipped. |
| Error | The entity associated with this entry failed to be imported into the Control Room. You can refer to the Details column for more information. |
Job Status
The following table explains the different job statuses.
| Status | Description |
|---|---|
| Pending | The job is pending execution. |
| Running | The job is currently executing. |
| Completed | The job has successfully imported all selected entities without errors. |
| CompletedWithError | The job has finished with some errors. You can find more information by looking at the job details. |
| Error | The job failed due to an unexpected error. |
Importing Older Packages
Please follow the steps below to import packages created in IntelliBuddies versions earlier than 6.3.108 into Control Room version 6.3.108 or later.
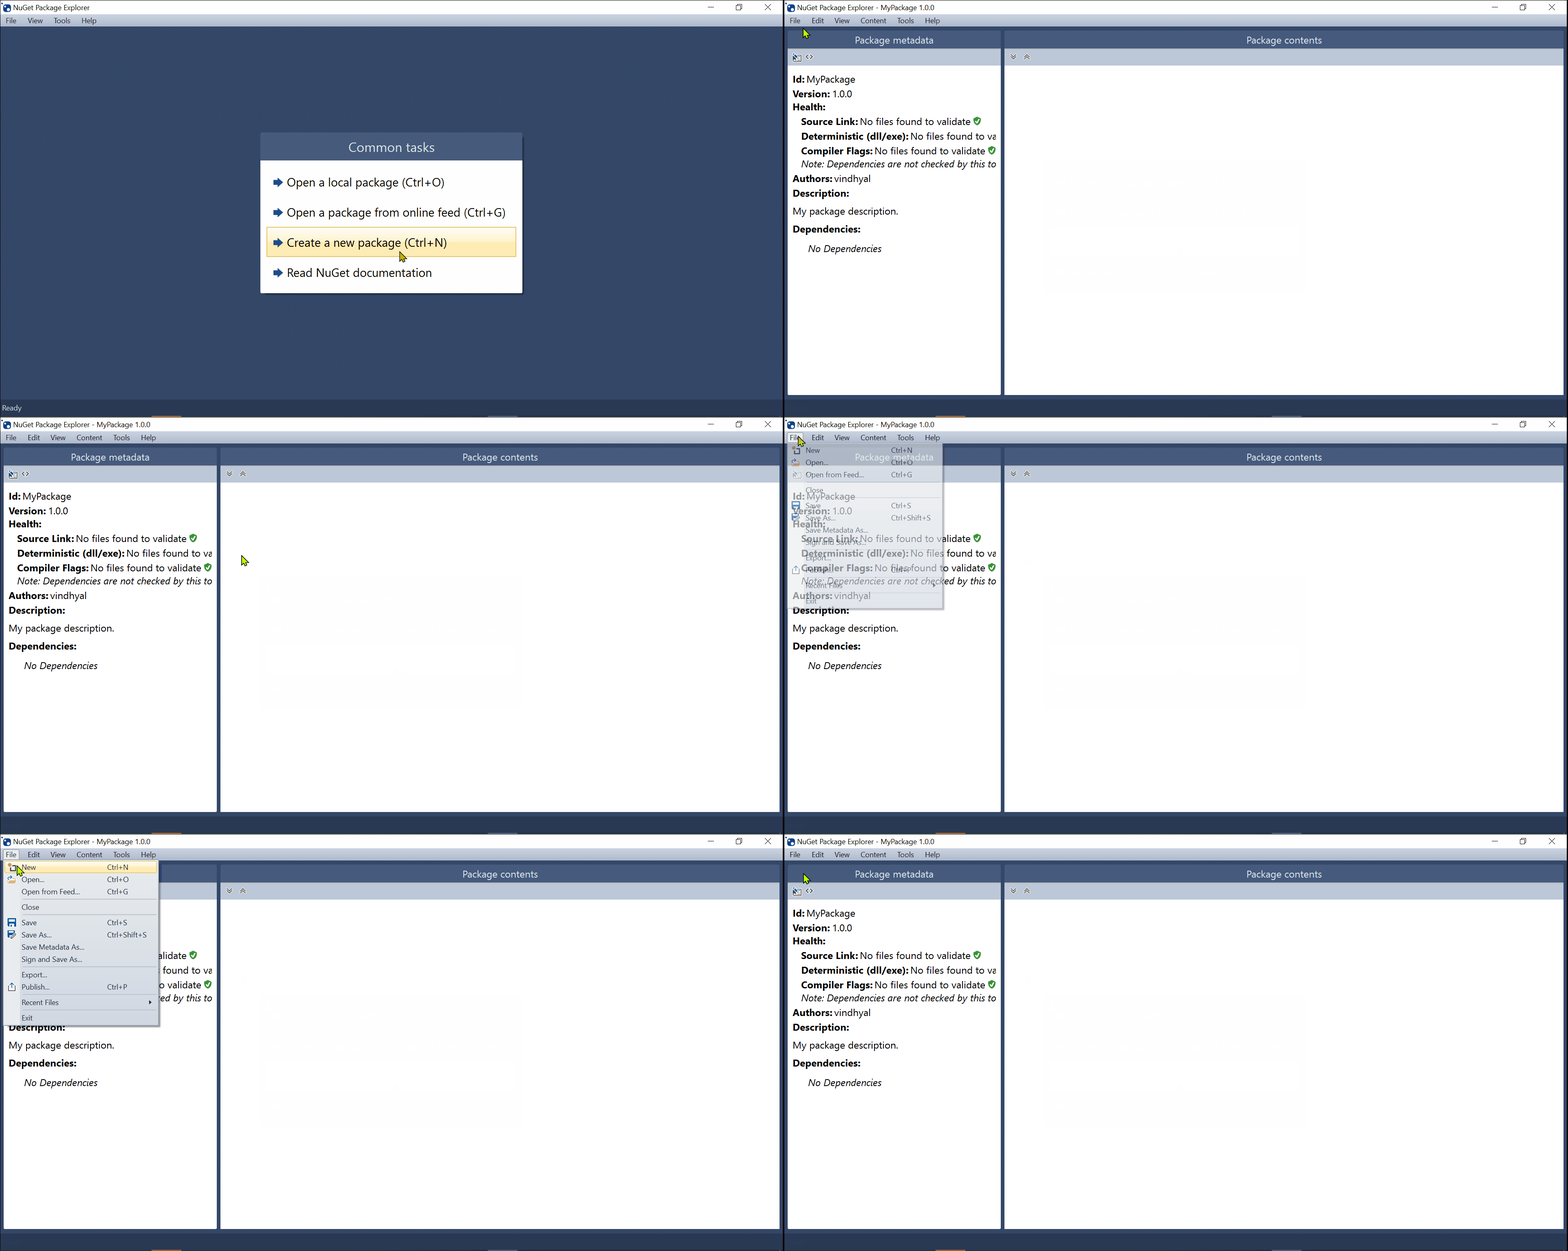
- Download and Install NuGet Package Explorer: Download the NuGet Package Explorer from the Microsoft Store.
- Open the NuGet Package Explorer: Once installed, launch the NuGet Package Explorer.
- Create a New Package: From the File menu, select New.

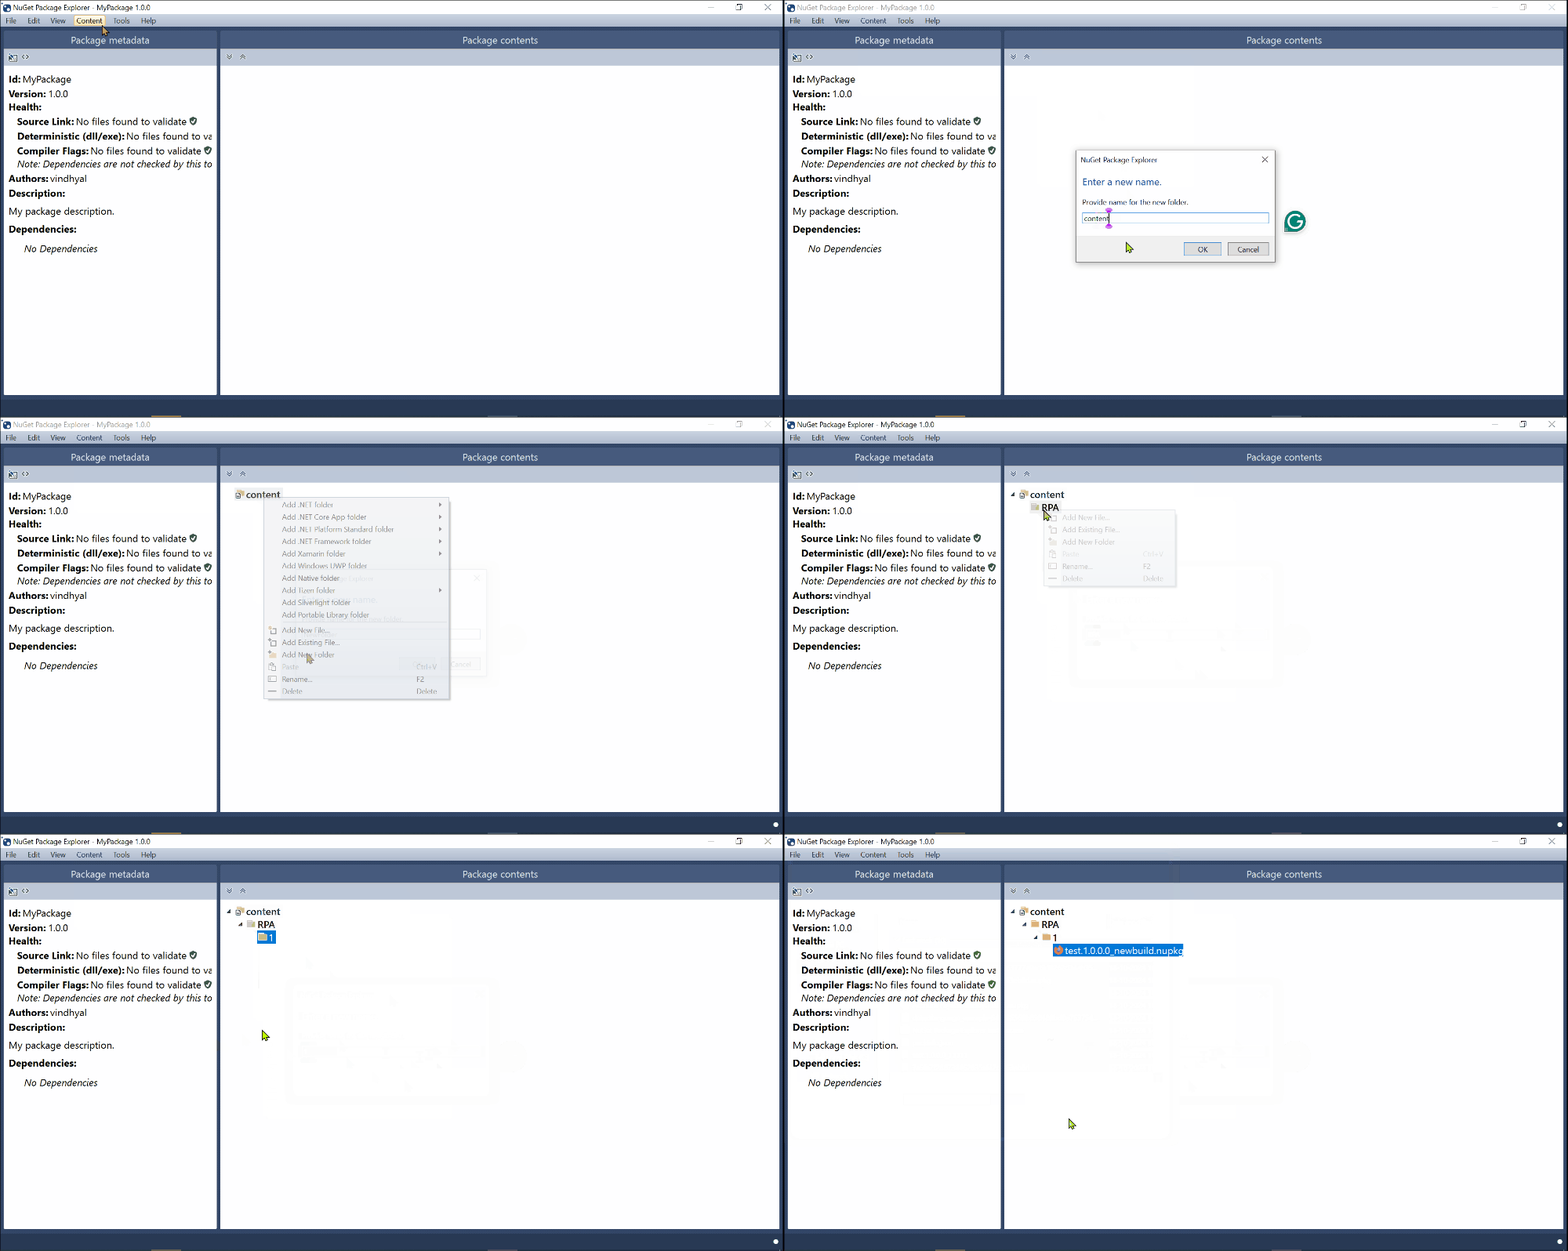
- Add Folders:
- Navigate to Content -> Add -> New Folder, and name it content.

- Inside this folder, create another folder using the following naming convention based on the package type:
| Package Type | Folder Name |
|---|---|
| RPA nupkg | RPA |
| BPA nupkg | BPA |
| Connections nupkg | Connections |
- Add a Subfolder: Select the package type folder created in Step 4. Go to Content -> Add -> New Folder, and name the folder numerically (e.g., 1, 2, etc.).
- Upload Existing nupkg File: Select the subfolder created in Step 5, right-click, and select Add Existing File. Upload the older nupkg file you want to include.
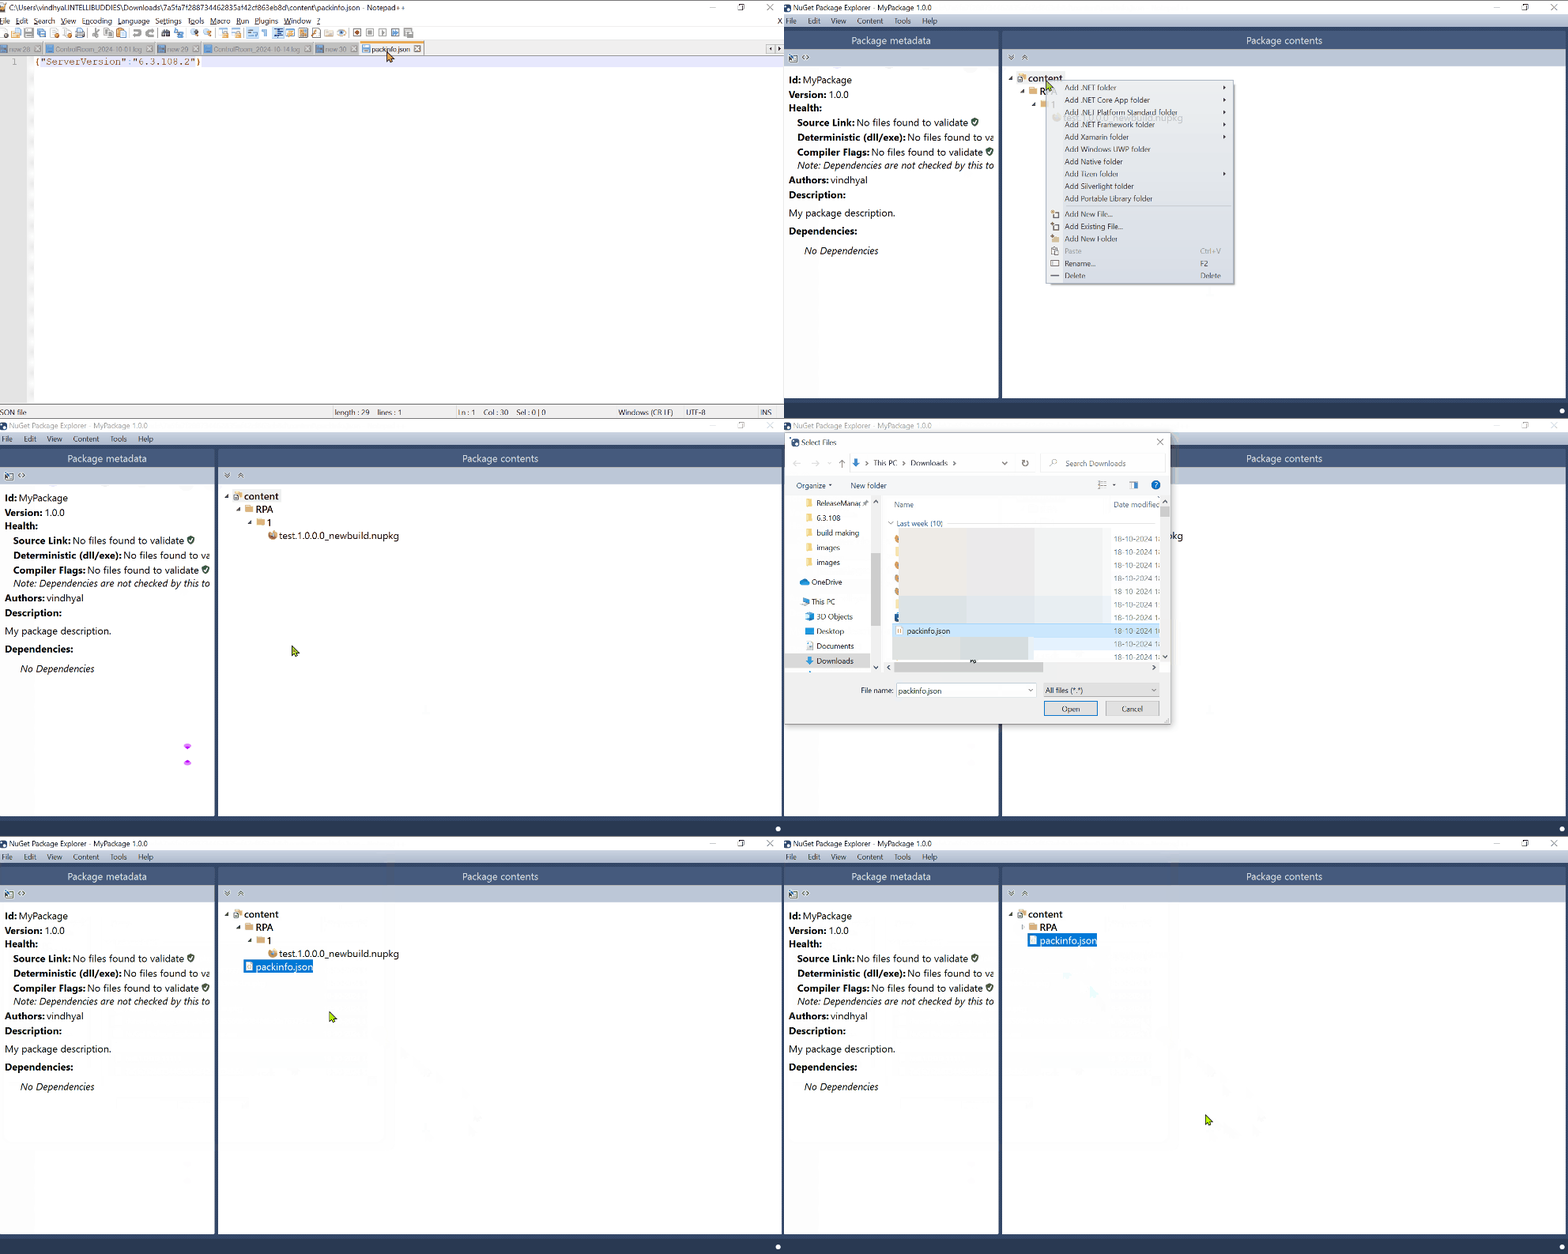
- Create packinfo.json: Create a new file named packinfo.json with the following content format:
    {
        "ServerVersion": "6.3.108.2"
    }
Ensure that the ServerVersion is set to the version of the Control Room Server where you are importing this package.
- Add packinfo.json to Content Folder: Right-click on the content folder created in Step 4 and select Add Existing File. Choose the packinfo.json file created in Step 7.

- Save the New nupkg Package: Save the newly created package in NuGet Package Explorer by providing a name for the nupkg file.
- Import the Package into the Control Room: Navigate to Control Room -> ADMINISTRATION -> Import and Import job