Tenants
Multitenancy
Multitenancy in the AI Command Center allows for secure data compartmentalization within your organization, enabling the streamlined automation of various company departments while ensuring department-specific data access control.
A tenant refers to an individual or organization or a department within an organization subscribing to and using a specific instance of a AI Command Center.
Currently, Multitenancy is supported only with Basic Authentication.
Tenant Administration
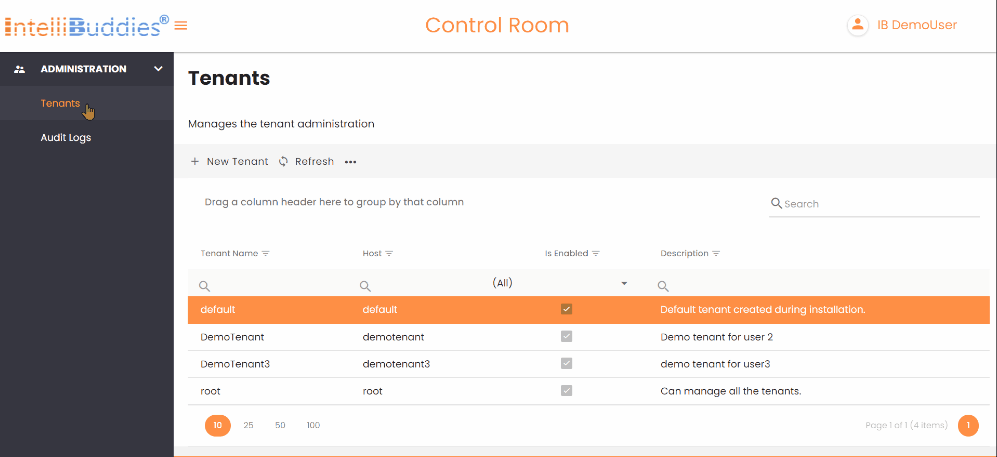
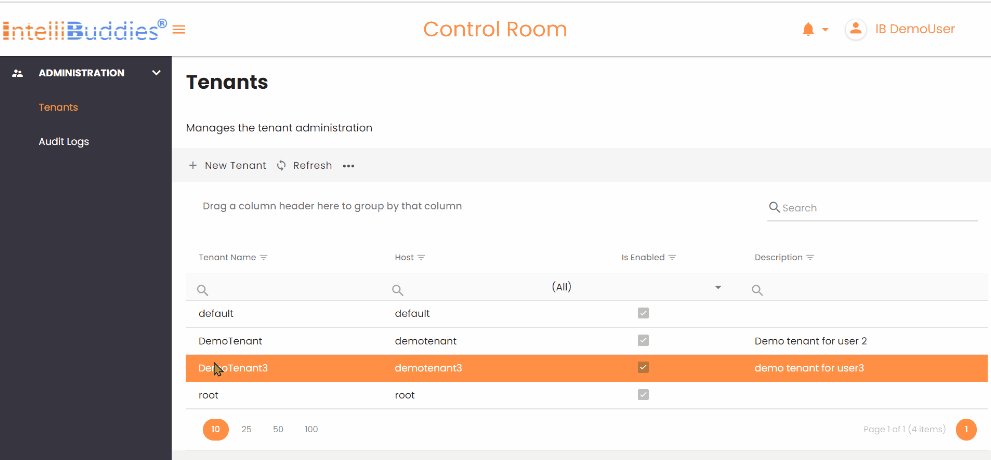
You can manage Tenants from the Tenants Administration page. You can reach this page from the Administration tab by selecting Administration > Tenants from the side panel. It is the page where you can add, modify, and manage tenants.
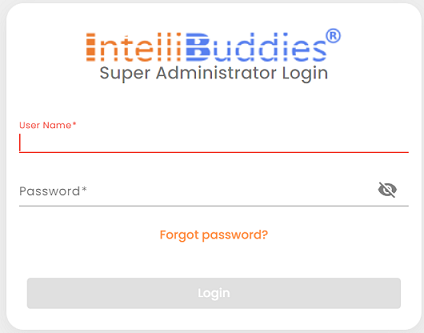
Super Administrator
The user specified during the deployment of the AI Command Center is the Super Administrator. Only the Super Administrator can set up and manage new tenants under this page.
You cannot change the default Super Administrator.
Default Tenants
By default, tenants with default and root are created as part of the installation.
| Tenant | Description |
|---|---|
| default | The first tenant in the AI Command Center |
| root | The tenant is for Super Administrator login |
You will not be allowed to modify the properties of the above default tenants. These tenants are created during the AI Command Center deployment.
Managing Tenants
To manage Tenants, you need to login to the tenant administration page using Super Administrator. There are two ways to login into the Tenant Administration page.
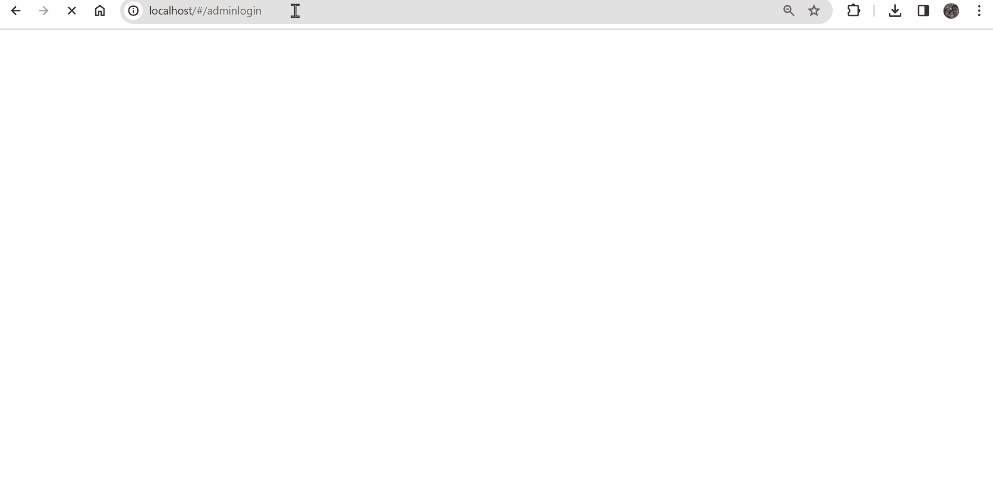
Using Administrator Login URL
-
You can access the tenant administration page using the tenant administration URL. The tenant administration URL is in the following format:
- http://YourControlRoom.com/#/adminlogin OR
- https://YourControlRoom.com/#/adminlogin
-
Enter the Super Administrator credentials and click on the Login button.
Using Root Tenant
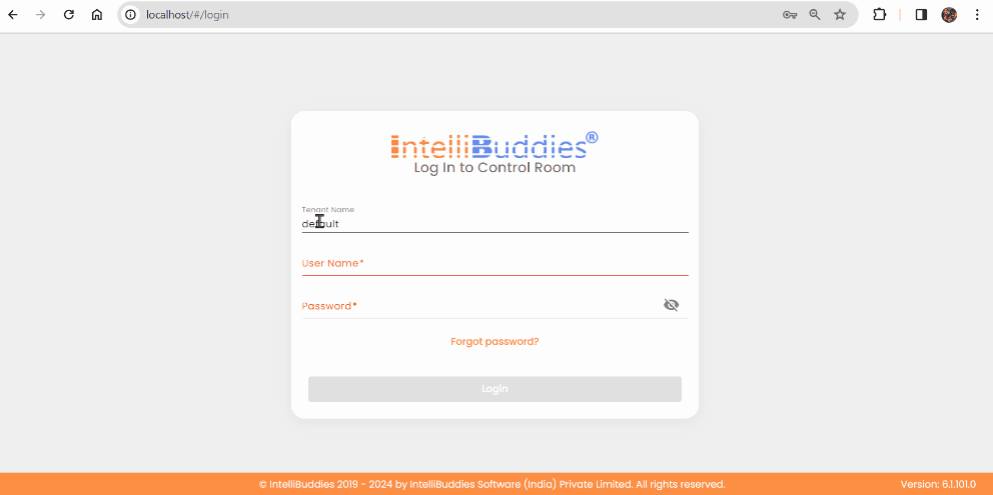
- Alternatively, you can access the AI Command Center using the standard AI Command Center login URL:
- http://YourAICommandCenter.com/#/login OR
- https://YourAICommandCenter.com/#/login
- Change the Tenant Name from default to root.
- Enter the Super Administrator credentials and click on the Login button.
Creating a New Tenant
You can create a new tenant from the Tenants page.
- Click on Toolbar-Menu >
 button
 - Type in the tenant name.
You can click on the tick mark available to ensure that the specified tenant name is not already used.
- Fill in the other details of the tenant
- Click on Add
Editing a Tenant
You can edit an existing tenant to change the details. You can do this from the Tenants' page.
- Select the tenant to edit
- Right-click and select the Edit option
- Edit the details
- Click on Update
Disabling a Tenant
- On the Tenant page, select the tenant to be disabled
- Right-click and click on the Disable option
- Confirm the operation by selecting Yes
Disabling a tenant will block any user from accessing the AI Command Center.
You can enable the disabled tenants by selecting the tenant, Right-click, and clicking on the Enable option.
Auditing Tenant
By default, the AI Command Center logs certain activities for auditing purposes per tenant. Super Administrator can view these audit logs by following the steps below.
- From the Tenants Page, select the tenant to be audited.
- Right-click and click on Audit