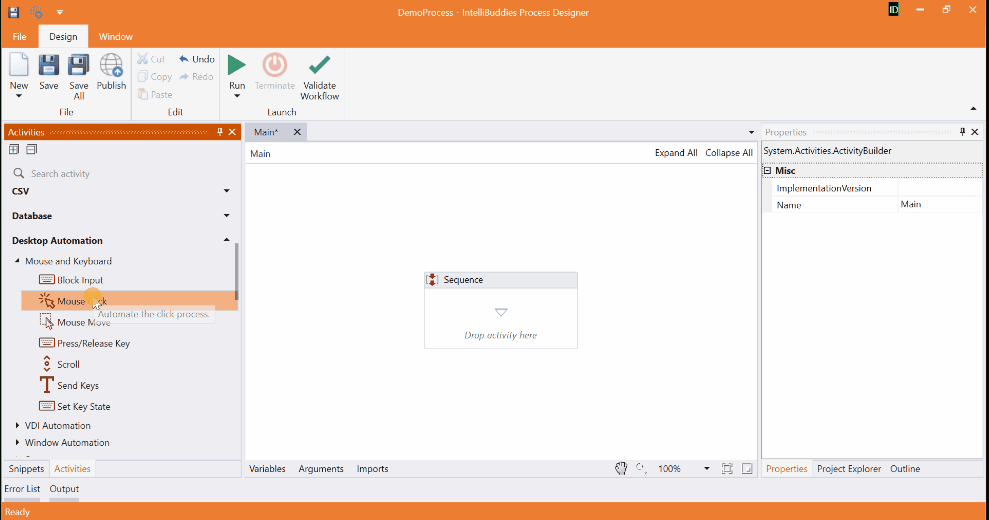
Selectors
Most of the desktop automation activities need you to select the UI element. These UI elements include windows, buttons, drop-down lists, and many others.
There are multiple ways to select UI elements on the screen. One of the ways is to identify them based on their position on the screen. However, these methodologies might be unreliable in certain circumstances. Hence, IntelliBuddies captures attributes of UI elements and their parents in the form of XML fragments. Also, IntelliBuddies provides you to select these UI elements through a visual approach enabling faster automation design time.
Element Selector
To select the UI element within a specified Window, perform the following steps:
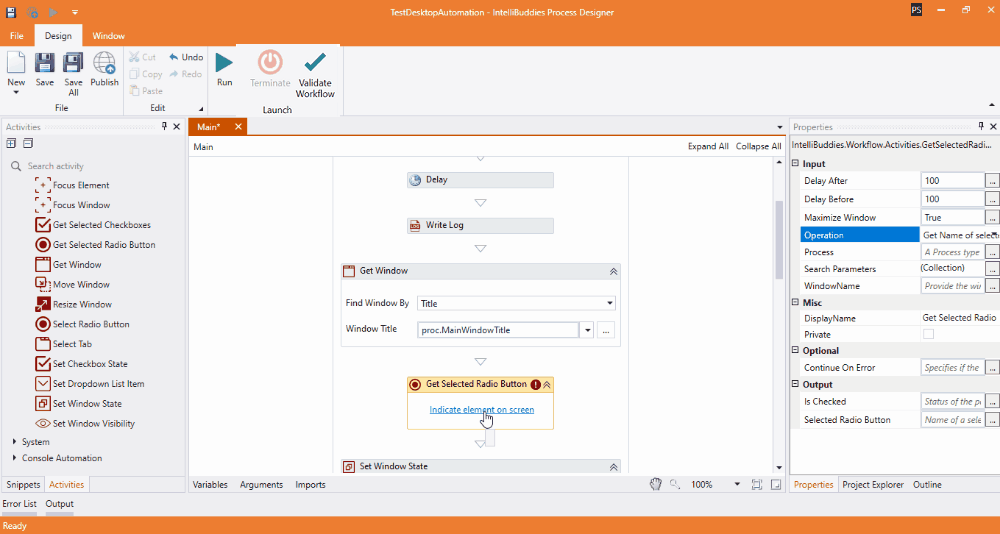
- Click on the Indicate Element on Screen button available as part of that Activity.
- This will minimize the Process Designer application and brings up the UI element selector dialog window in the foreground

- It also starts highlighting the UI elements on the screen.
- You can open the application window, hover the Mouse on the UI element that needs to be selected, and press [F2] to complete the selection process
The selected element's attributes, along with its parents, are stored in JSON format as part of Search Parameters property of the corresponding Activity.
Group Selector
UI elements such as Checkboxes and Radio-Buttons might be grouped to extract a single piece of information. However, our Element Selector will not be able to highlight the entire Group.
For example, if the target application consists of a Radio Button to accept marital status information from the user. Let us say that this Radio Button group contains three buttons: Single, Married, and Divorced. The Element Selector will allow individual radio button selection but not the entire Group. Hence, you will have to get the status of all three separately and then process based on the status.
Instead, you can group these radio buttons or checkboxes as part of design time by selecting the Type property of the related activity to Group. By saving your selection, you can choose all the needed UI elements using Element Selector and create a Group.
- Click on the Indicate Element on Screen button available as part of that Activity.
- This will minimize the Process Designer application and brings up the UI element selector dialog window in the foreground

- It also starts highlighting the UI elements on the screen.
- You can open the application window, hover the Mouse on the UI element that needs to be selected, and press [F2] to add the selected element to Group.
- After adding all the required UI elements into Group, click on Save to save this as a Group selector.
The selected element's attributes, along with its parents, are stored in JSON format as part of Search Parameters property of the corresponding Activity.
Window Selector
To select the appropriate application window for automation, IntelliBuddies provides multiple options to find the automation window.
| Selection Type | Description |
|---|---|
| Element | Use Element Selector to select the window holding this UI element |
| Instance | Select the window by the specified window instance. Note: You can obtain the window instance using Get Window activity |
| Title | Select the window by its title. You can either type the title inside the Window Title property or select the title from the drop-down. Note: The drop-down lists all the current windows opened inside the desktop during the design time |
Search Parameters
The Search Parameters property exists under all the activities that need selecting desktop UI elements. This property holds the attribute collection of the selected UI element and its parents stored in JSON format.
You can view these attributes by clicking on the ellipsis[...] button. Each node, along with its attributes, is displayed in a hierarchical sequence, with the topmost node identifying the root parent and the bottom-most node identifying the selected UI element. Most of the time, the attribute values will be automatically extracted by Element Selector.
In a situation where the target application is opened with elevated privileges or the target application has blocked UI scripting, the element selector might not work.
The attributes extracted by the Element Selector are notified with a checked box. These denoted attributes will be considered for identifying the UI element during the runtime. You can edit the attribute values or select the attributes for element detection from the Search Parameters.
View the Selected element
Users can view the selected element by clicking on the Highlight button in the Search Parameter dialog.
To highlight the selected UI element, perform the following steps:
- Select the UI element by following the instructions in Element Selector.
- Open the Search Parameter dilaog from the property pane.
- In the Search Parameter dialog, click on the Highlight button.
- It highlights the selected UI elements on the screen.
You can see the following status in the Search Parameter dialog:
- Element found - when an element is present on the desktop.
- Element highlighted successfully - on successfully highlighting the element.
- Element not found - when an element is not present on the desktop.
- Application is not running - when the corresponding application is not running.