Working with Word Automation
Word Features
IntelliBuddies Word Automation activities utilize specific Word features to support easier automation. Hence, designers need to understand the following Microsoft Office Word features:
Bookmarks
A bookmark inside a Word document represents a specific location inside that document. Consider a bookmark similar to the bookmark you place in a book. Automating Word document creation starts with creating a Word document template. We will utilize bookmarks to identify a specific location inside the Word document to insert text, tables, or pictures.
For more information on bookmarks, please refer: MS Word Bookmarks
Alternative Text to Pictures
Since our buddies can read or analyze text more easily than graphic content, we utilize Alternative Text Properties for pictures to identify and replace them with dynamic picture content during automation.
For more information on alternative text property, please refer: Alternative Text Properties
Advanced search Options in Word activities
Users can utilize the advanced options dialogue to conduct text searches with enhanced functionality. This dialogue encompasses specific fields tailored for advanced search parameters.
Below are the activities where you can apply these options:
Comprehensive Overview of Advanced Options
This overview will provide you with a detailed understanding of all available options.
-
Page(s) to search—Use the options below to find specific text on one or more pages.
Option Description All Choose this option to search the text on all the page(s). Single Choose this option to search the text on one page. Range Choose this option to search the text on the range of page(s). -
Read page by—This option becomes accessible exclusively when Single is chosen under Page(s) to search. It allows for the specification of the page index or number to facilitate the selection of subsequent options.
Option Description Page Index Select this selection to access the page via its index. Page Number Choose this option to access the page using its number.
The page index denotes the fixed physical page number, whereas the page number is user-defined and customizable. Users can define it on any page within the document's Header or Footer.
-
From page—When Page(s) to search is configured to Range, designate the initial page to initiate the text search.
-
To page—When Page(s) to search is set to Range, indicate the concluding page number within the range for text search.
-
Page number—If Page(s) to search is set to Single define the specific page number for text search.
-
Search In—Determine whether to search for text within the document's Body, Header, or Footer.
Option Description Select All Enable this option to search for text across all page sections (Body, Header, and Footer). Body Enable this option to search for text within the page's Body. Header Enable this option to search for text within the page's header. Footer Enable this option to search for text within the page's footer. -
Match case - Activating this option conducts a case-sensitive search; otherwise, it performs a case-insensitive search.
-
Match whole words only—Enabling this feature prevents partial matches. For instance, searching for "One" will not yield results for "Someone".
-
Use regular expression—Enabling this functionality permits the specification of a regular expression and retrieves any text that matches the expression.
Sample Word Automation
This tutorial will show you how to utilize the above-explained word features and IntelliBuddies activities to automate word document creation.
The sample process provided here automates the generation of 15-CA and 15-CB income tax forms, which organizations use to file their foreign remittances.
Step-1: Download the process
Download the process from here:
15CA-Generation-Process
Step-2: Extract the process to a local folder
Double-click on the downloaded zip file and extract it to one of the local file system folders
Step-3: Run Process Designer and open the extracted process
Start IntelliBuddies Process Designer and load the extracted process
Step-4: Understanding process inputs
The process is fed input through various Excel files listed below:
- Configuration: This Excel Spreadsheet provides all the information about the Organization which is filing foreign remittances
- Customers: This Excel Spreadsheet provides all the information about the customers of this Organization
- CurrencyExchange: This Excel Spreadsheet provides the currency exchange rates used for foreign remittance tax calculation
- Invoices: This Excel Spreadsheet provides the details of the invoices raised by customers to this Organization
Step-5: Word document templates
The process automates the generation of both 15CA and 15CB tax forms. Further, we have divided the 15CA form into four different parts. A particular part is utilized based on specific criteria. Hence, the sample includes five(5) Word document templates for automation.
- 15CA-Part-A-Template
- 15CA-Part-B-Template
- 15CA-Part-C-Template
- 15CA-Part-D-Template
- 15CB-Template
Step-6: Process Architecture
We have designed the process with reusable workflows in mind. Hence, the process contains the following workflows:
- Main: The main workflow reads all the inputs from Excel files and stores them inside data tables. It will then process invoices read from the invoices Excel Spreadsheet in a loop. Based on the invoice amount criteria, each invoice invokes the appropriate workflow.
- 15CA-Part-A-Generator: This workflow automates the generation of 15CA Part-C form generation.
- Utilizes 15CA-Part-A-Template as part of Word Context activity
- Utilizes Replace Bookmarks activity to fill in appropriate dynamic content
- Utilizes Save As activity to save the filled word template as a PDF file into the output folder
- 15CB-Generator: This workflow automates generation of 15CB form generation. The activities used in this workflow are similar to the ones used in the 15CA-Part-A-Generator workflow, except we have set the word context to 15CB-Template
Step-7: Process Output
The process outputs the generated documents in PDF format and puts them in your desktop folder.
- creates ForeignRemittanceDemo/OUTPUT folder under your desktop
- creates a folder per customer under the above OUTPUT folder
- dumps all the documents (*.pdf) generated for that customer inside this folder
Step-8: Exercise - 15CA-Part-A-Generator
The sample process attached here implements the generation of the 15CA-Part-C portion of the form. Let's walk through adding a new workflow to automate the generation of the 15CA-Part-A form.
- Step-A: In Process Designer, go to the Project Explorer panel. Right-click on the tree's root and Add a new Sequence. Provide a name ITR-15CA-Part-A-Generator to this Sequence and click on Create. It will create a new workflow with the given name and open it in the Designer Panel.
- Step-B: Go to the Arguments panel and create all the input and output arguments. This workflow would take the same input and output arguments as the ITR-15CA-Part-C-Generator workflow. Hence, refer to an existing workflow and create the argument for this new workflow.
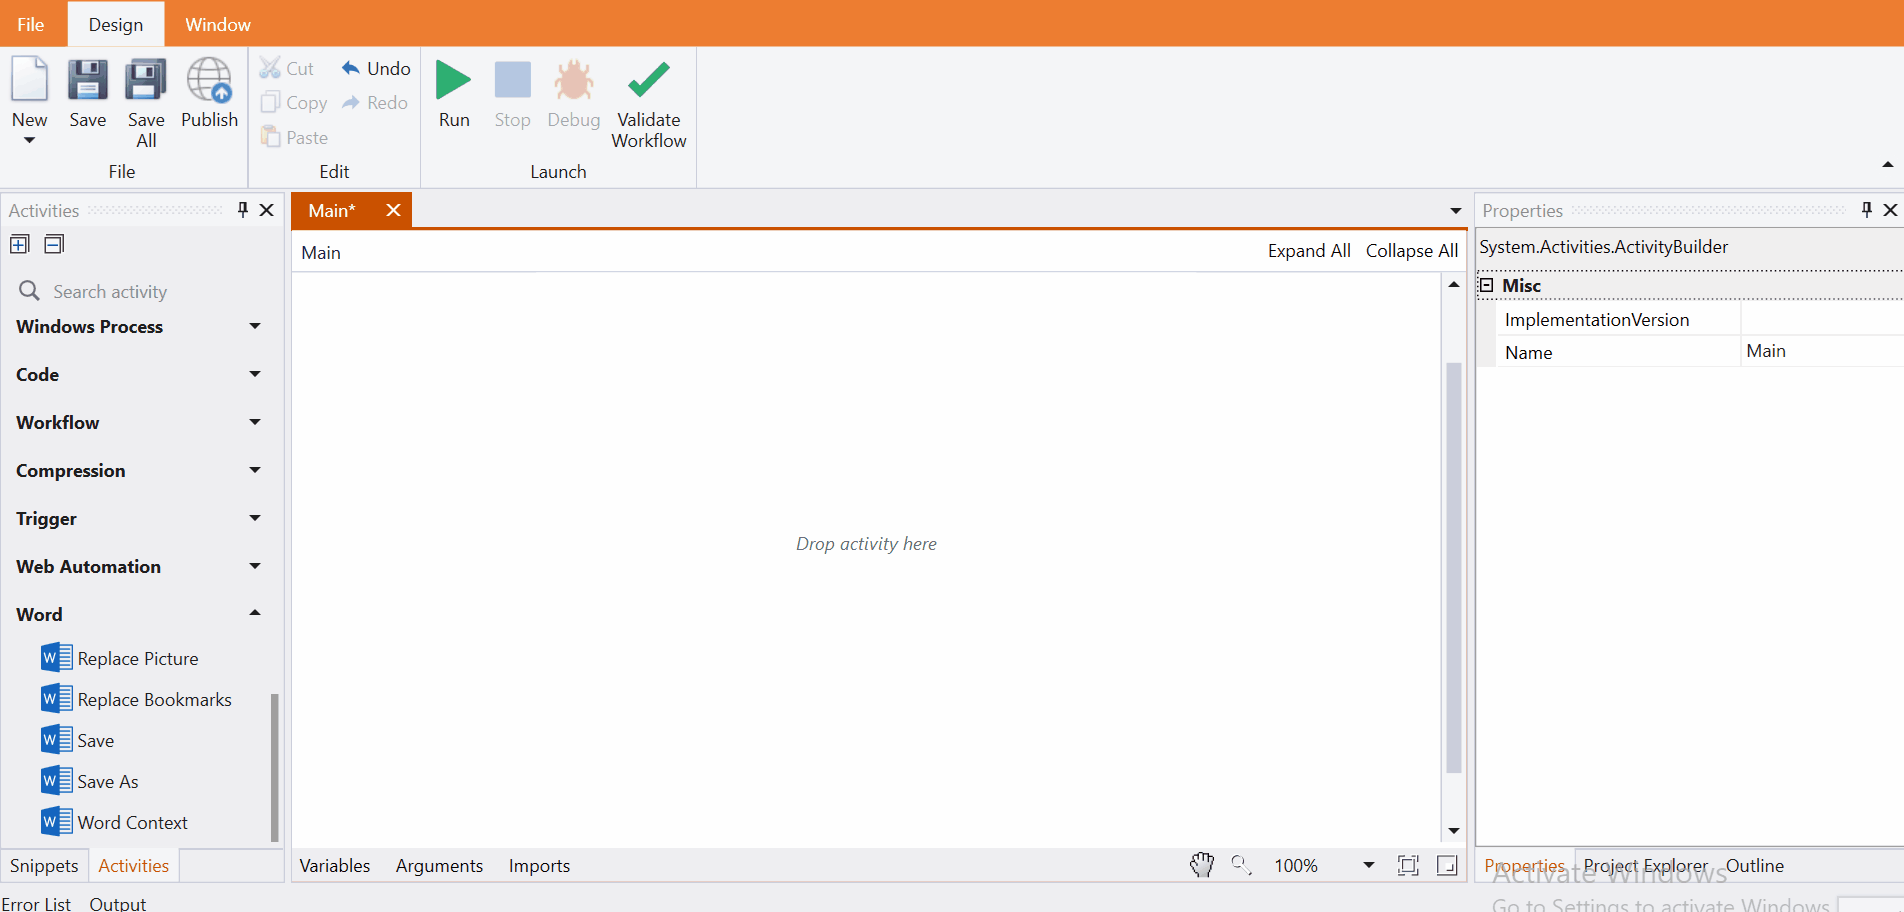
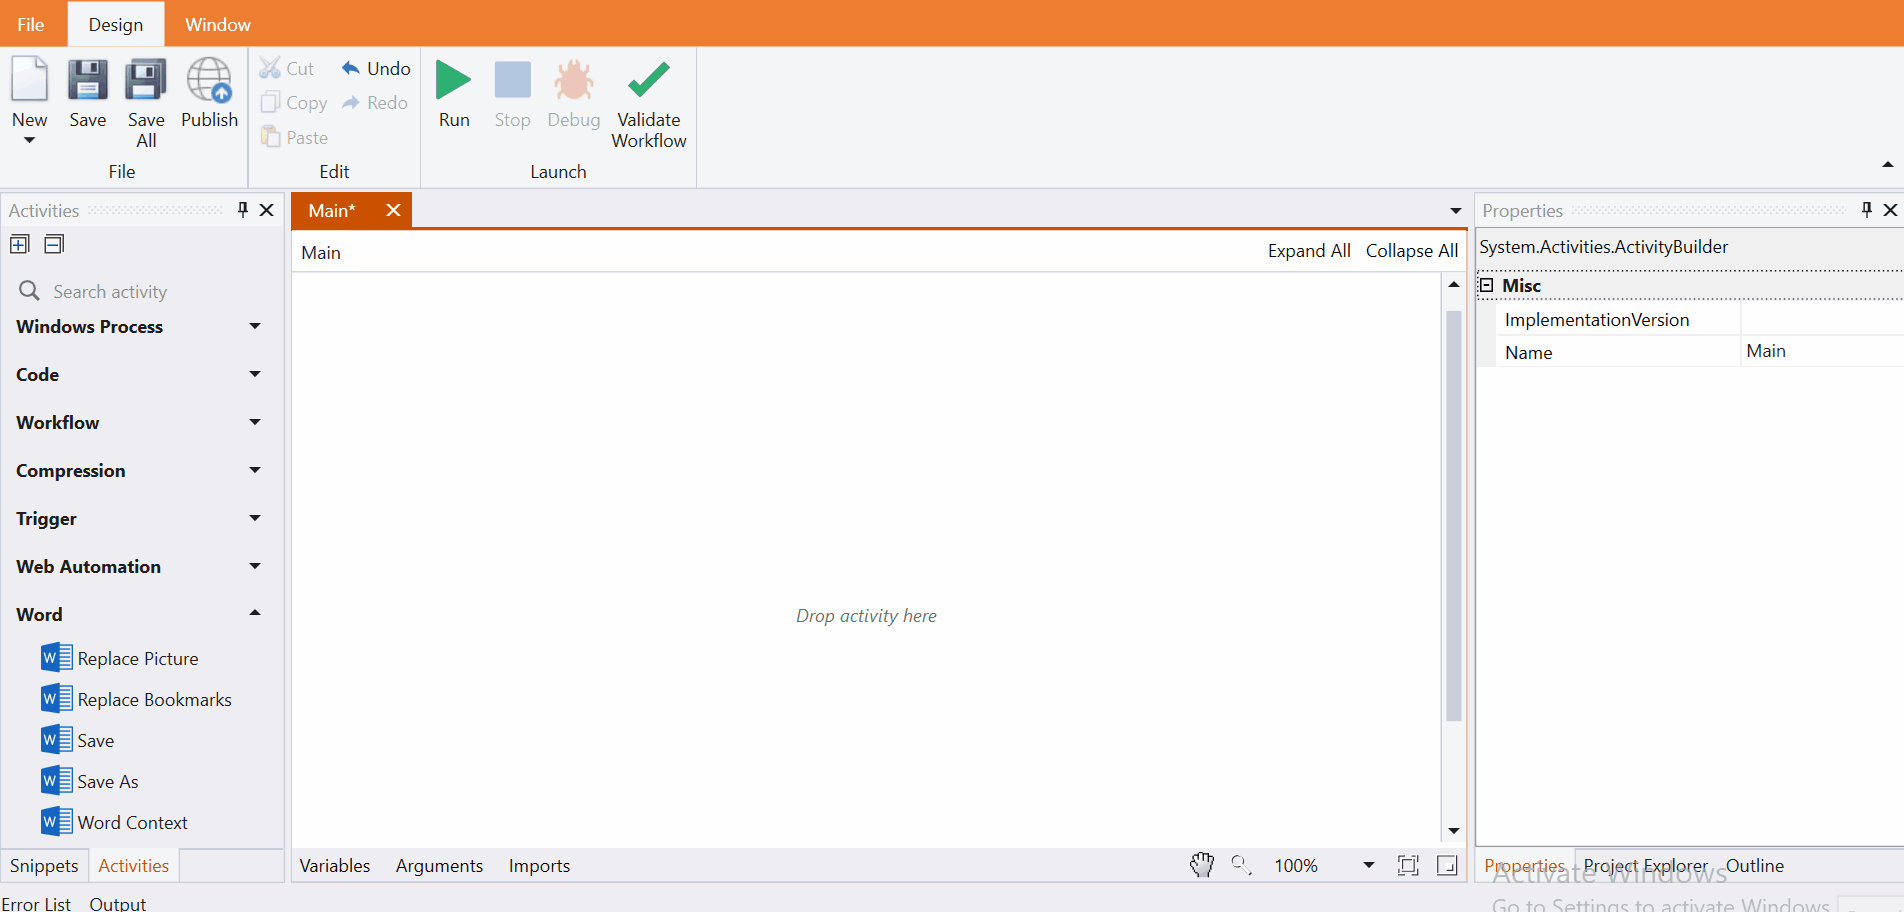
- Step-C: Search for Word Context activity in the Activities panel. Drag and drop that activity into the new workflow. Set both Document Path and Design Time Template properties to "ITR-15CA-Part-A-Template.docx"
- Step-D: Search for Replace Bookmarks activity in the Activities Panel. Drag and drop that activity under the Word Context activity.
- Step-E: Select the existing bookmarks and replace them with the dynamic text.
- Step-F: Search for Save As activity in the Activities Panel. Drag and drop that activity below the previous activity added inside Word Context. Select the File Format property to PDF. Specify the output File Name and the Output Directory to save the output file.
- Step-G: Save the workflow by clicking on Save from the menu
- Step-H: Open the Main workflow from the Project Explorer panel
- Step-I: Search for Invoke Workflow activity in the Activities Panel. Drag and drop that activity under the block where it invokes Part A.
- Step-J: Select the workflow and map the arguments
- Step-K: Click on Save All to save all the workflows as part of this process.
- Step-L: Insert a new record inside Invoices Excel file with invoice amount less than 5L INR.
- Step-M: Run the process and ensure that 15CA-Part-A gets generated properly.
Follow the same steps to design the workflows for the remaining parts of the 15CA form.
If you have a picture inside a Word document template with Alternative Text property, you can replace it using the Replace Picture activity as depicted below:
Summary
Overall, by the end of this exercise, you should have learned how to utilize the following automation activities:
- Word Automation Activities
- Excel Automation Activities
- Process Design with modular workflows
- Invoking workflows bypassing input arguments and processing output arguments